GALLERY
ABOUT
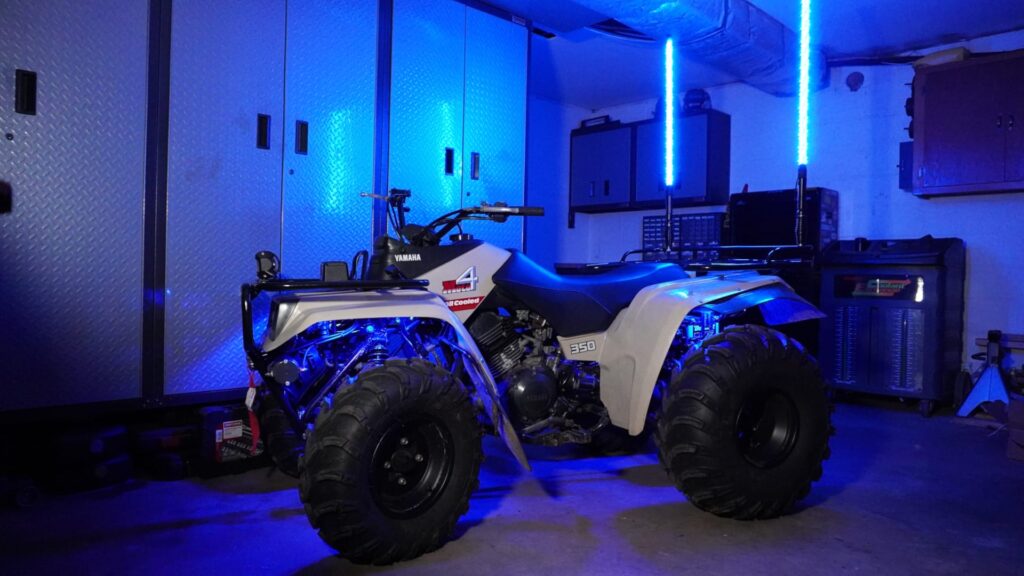
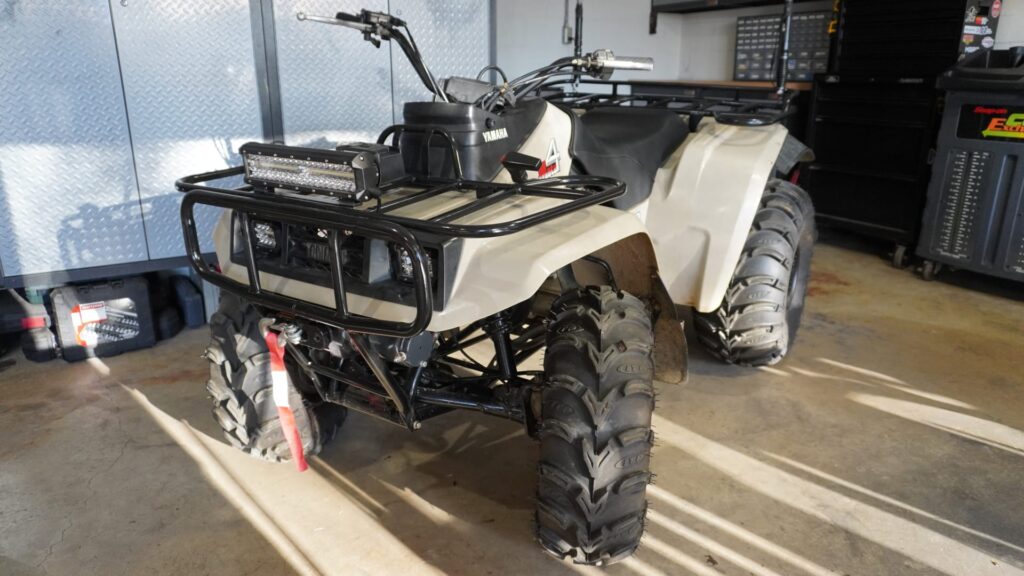
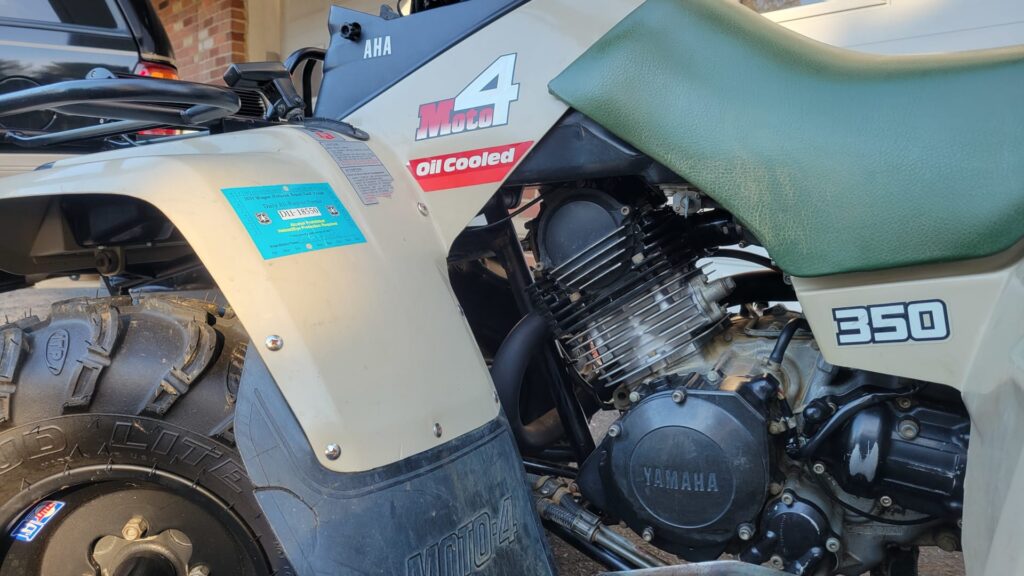
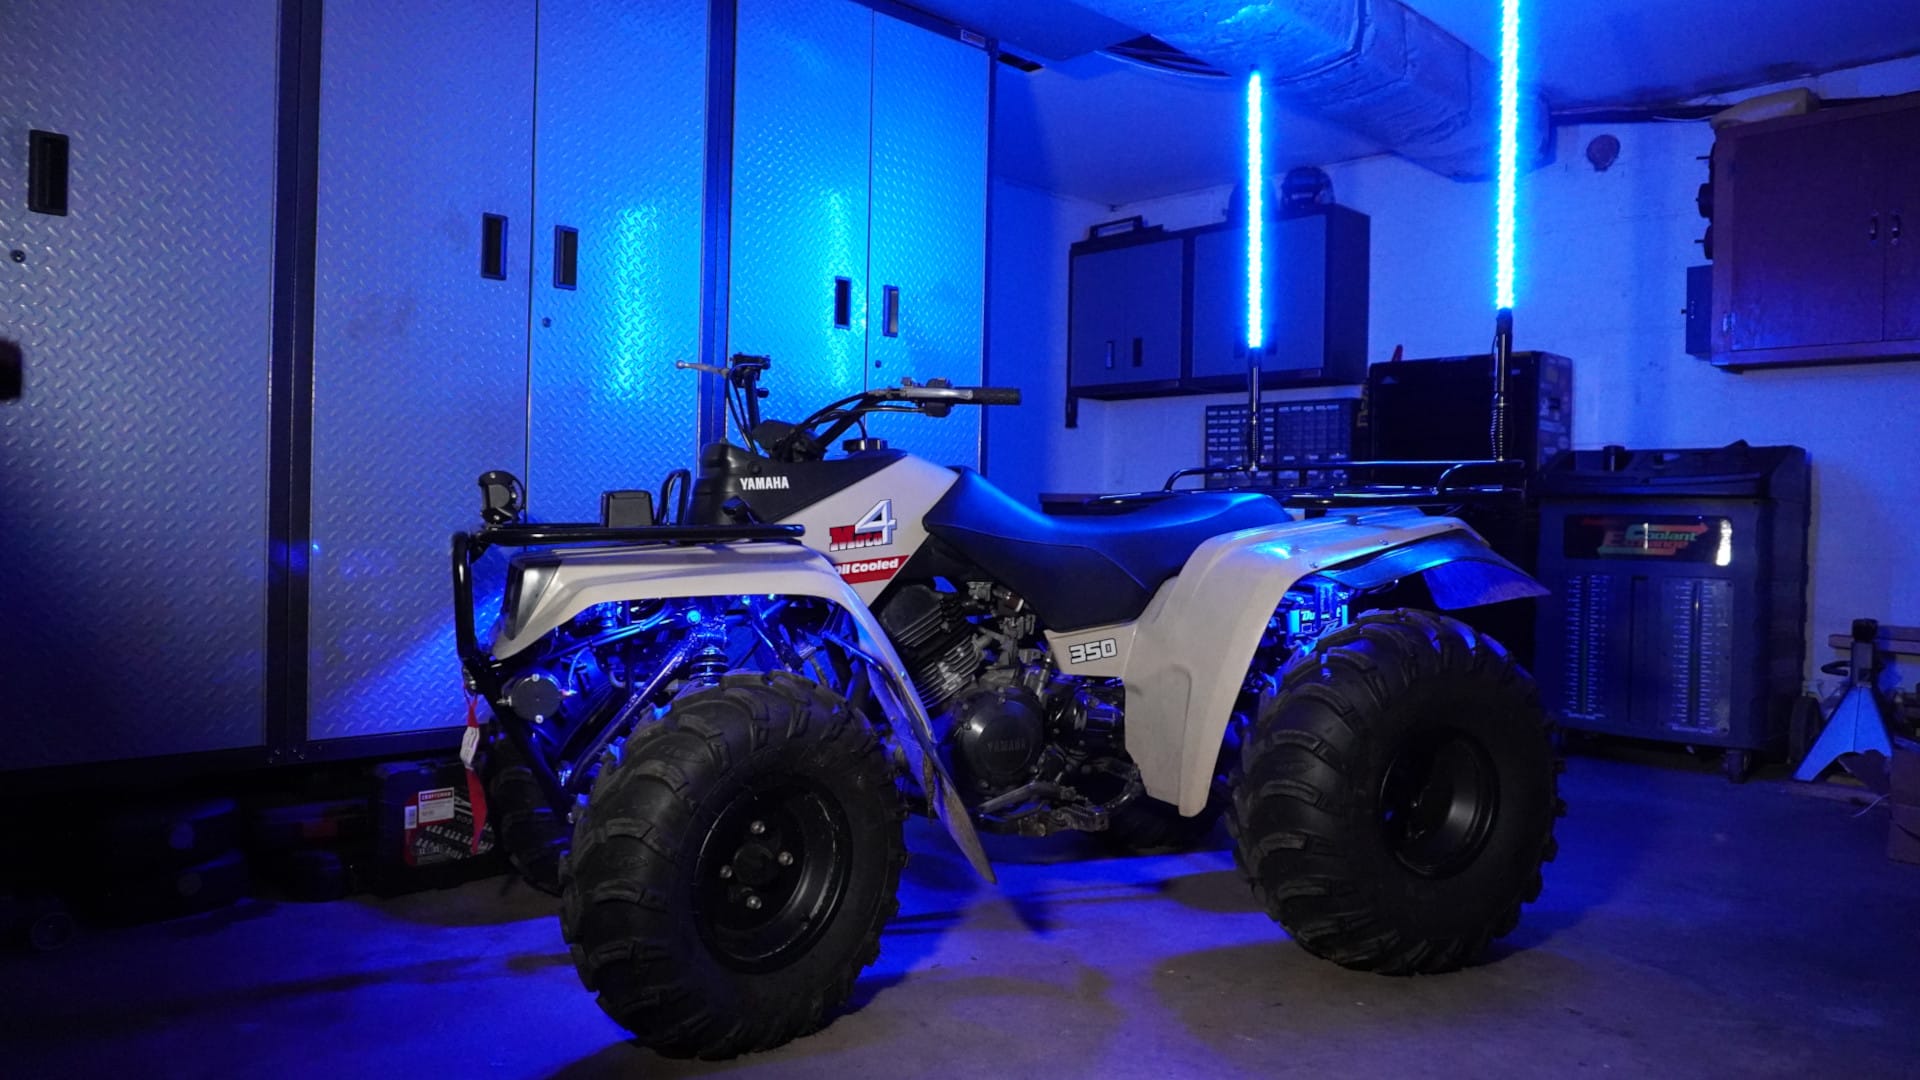
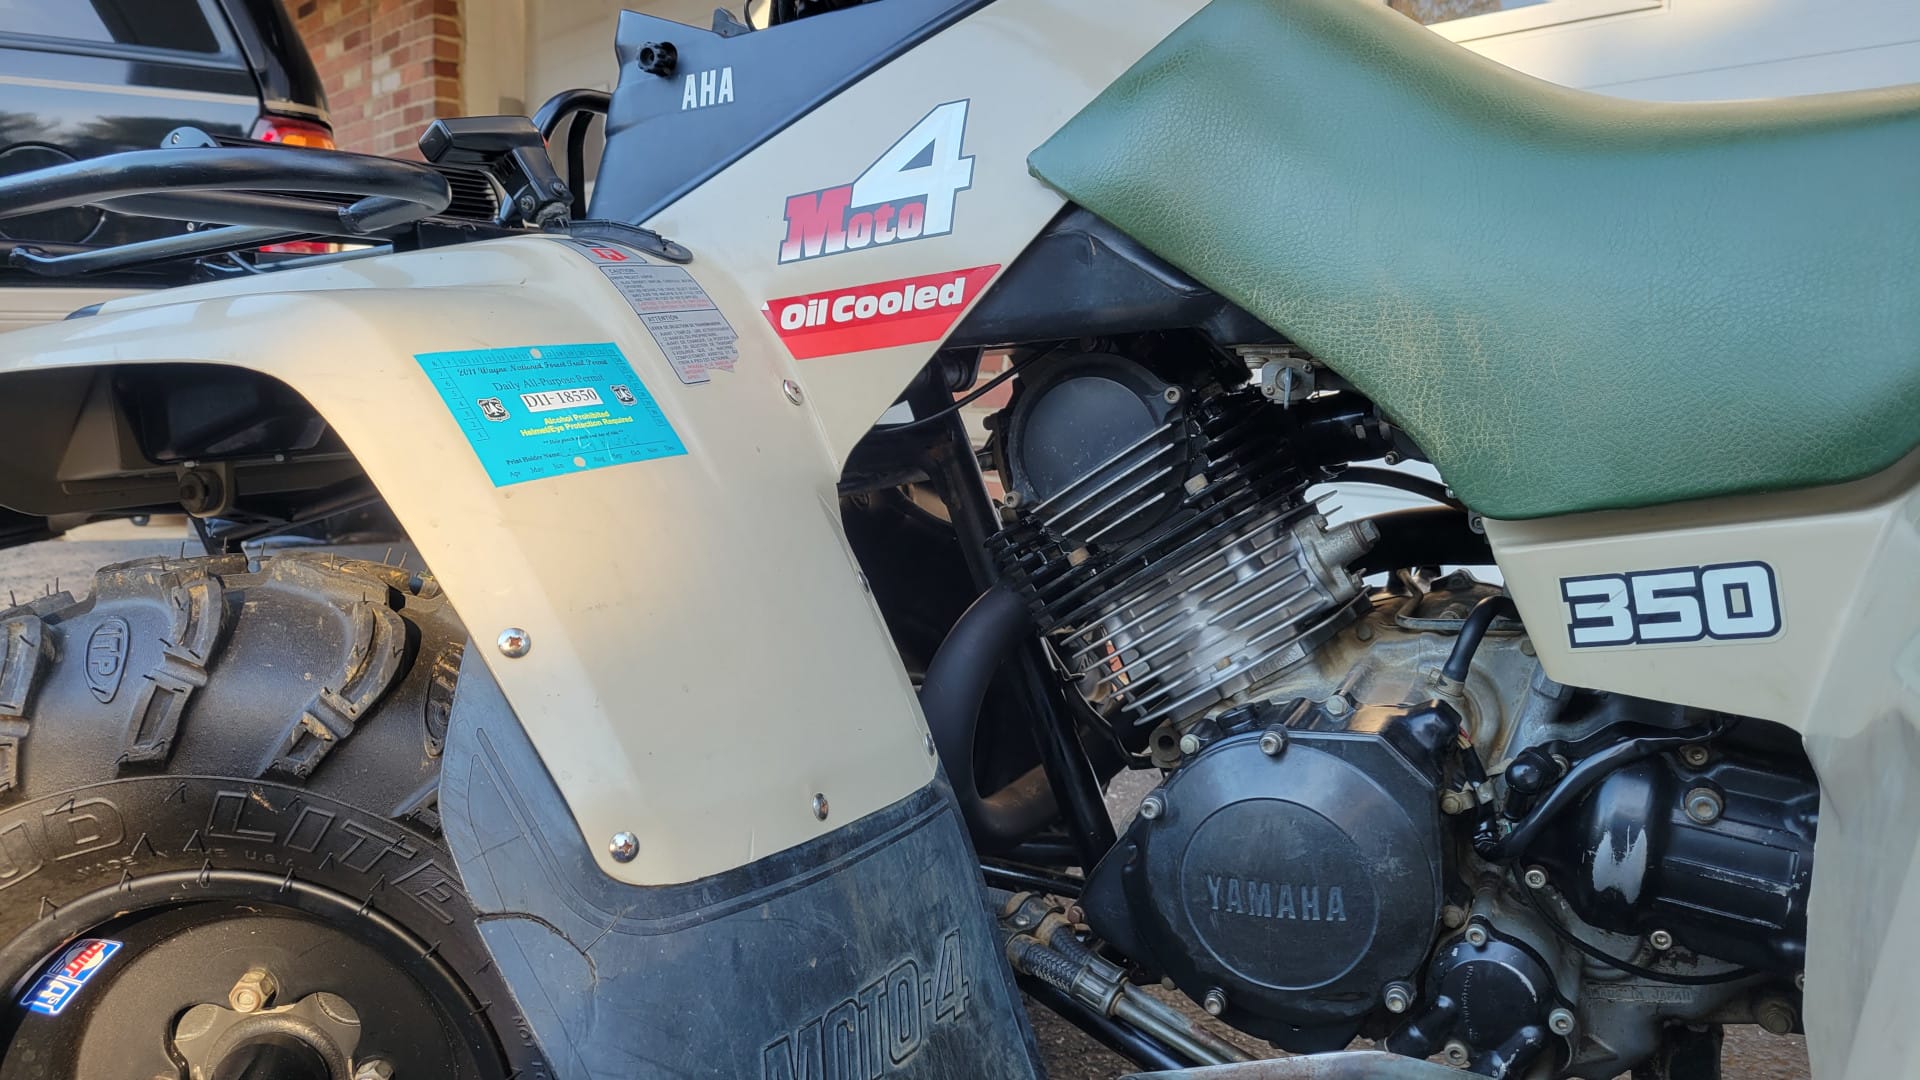
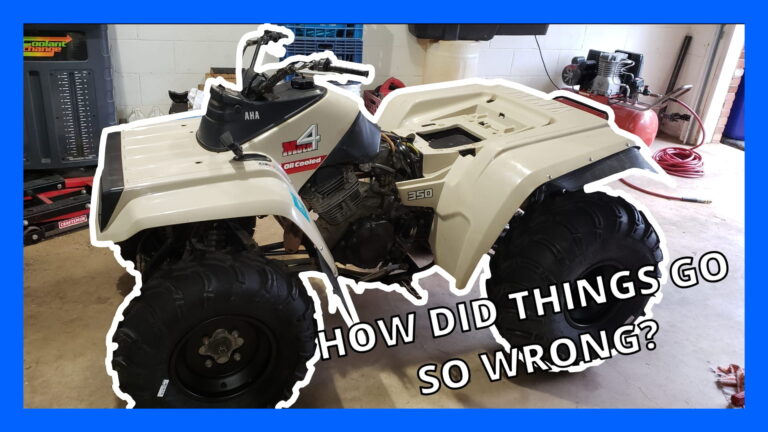
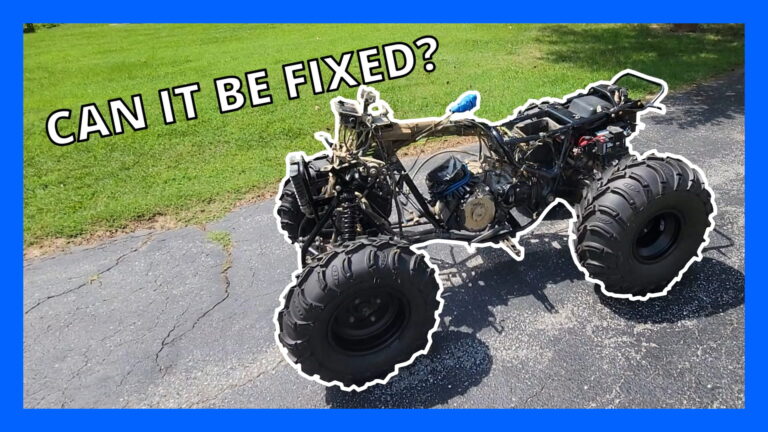
Backbreaker is a two-wheel drive 1989 Yamaha Moto-4 (YFM350ERW). This bike was purchased off a family friend years ago and to this day is one of the most reliable machines I own.
That’s A Weird Nickname…
You might be wondering how the Moto-4 got the nickname “Backbreaker”. Story time… I was out riding and got a little confident one day. Something got into me and I decided to take on a hill I knew I wasn’t going to make it up. About halfway up, the ATV rolled back crushing me underneath it.
It ended up doing a full rotation and I was sitting on top of it when it landed back on its wheels. Long story short, I was put on a backboard and hauled out of the woods.
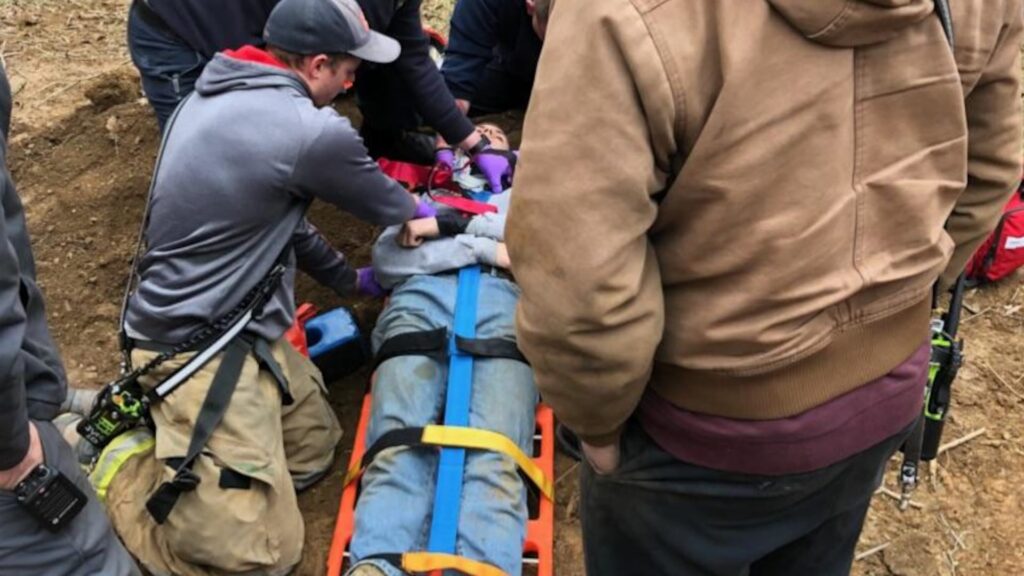
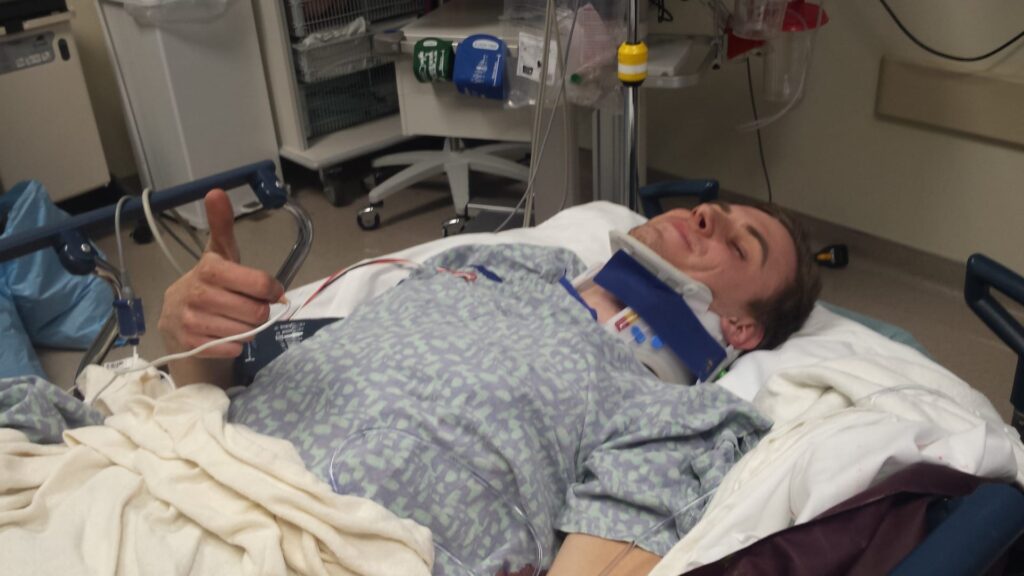
After several hours of lying in the hospital on a backboard, the doctors determined that I broke my back in three places. Believe it or not, this was one of my better injures and I actually walked (hobbled) out of the hospital that day.
Once I recovered, I wanted to sell the bike but just couldn’t do it. It’s a solid bike and will make good cruiser to get around some property one day. Let’s just say it won’t be doing any more hill climbs as long as I’m on it.
The Build
Now to the build. This whole project started before I created my YouTube channel so unfortunately there is a lot of things I did to it that are not on film.
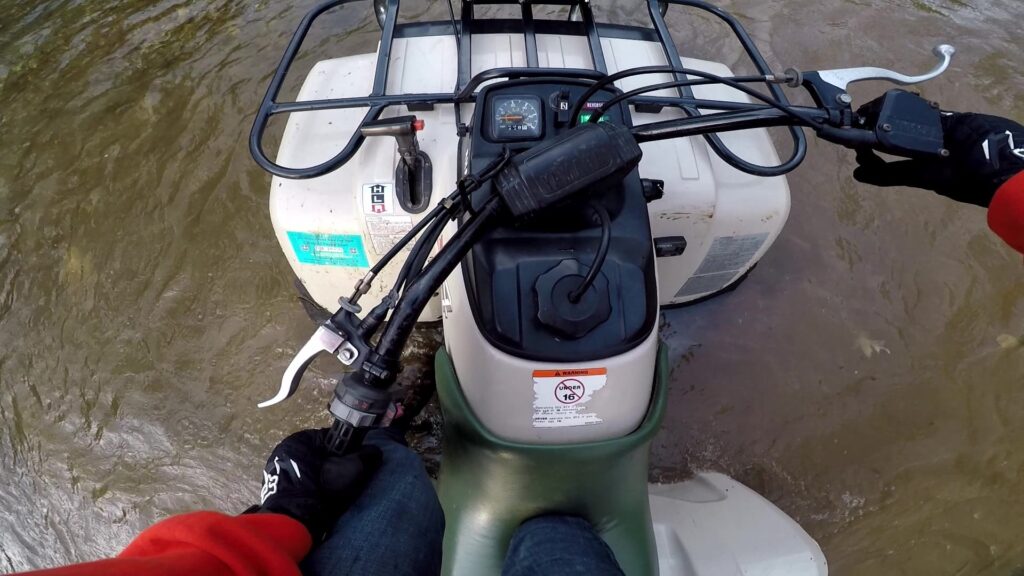
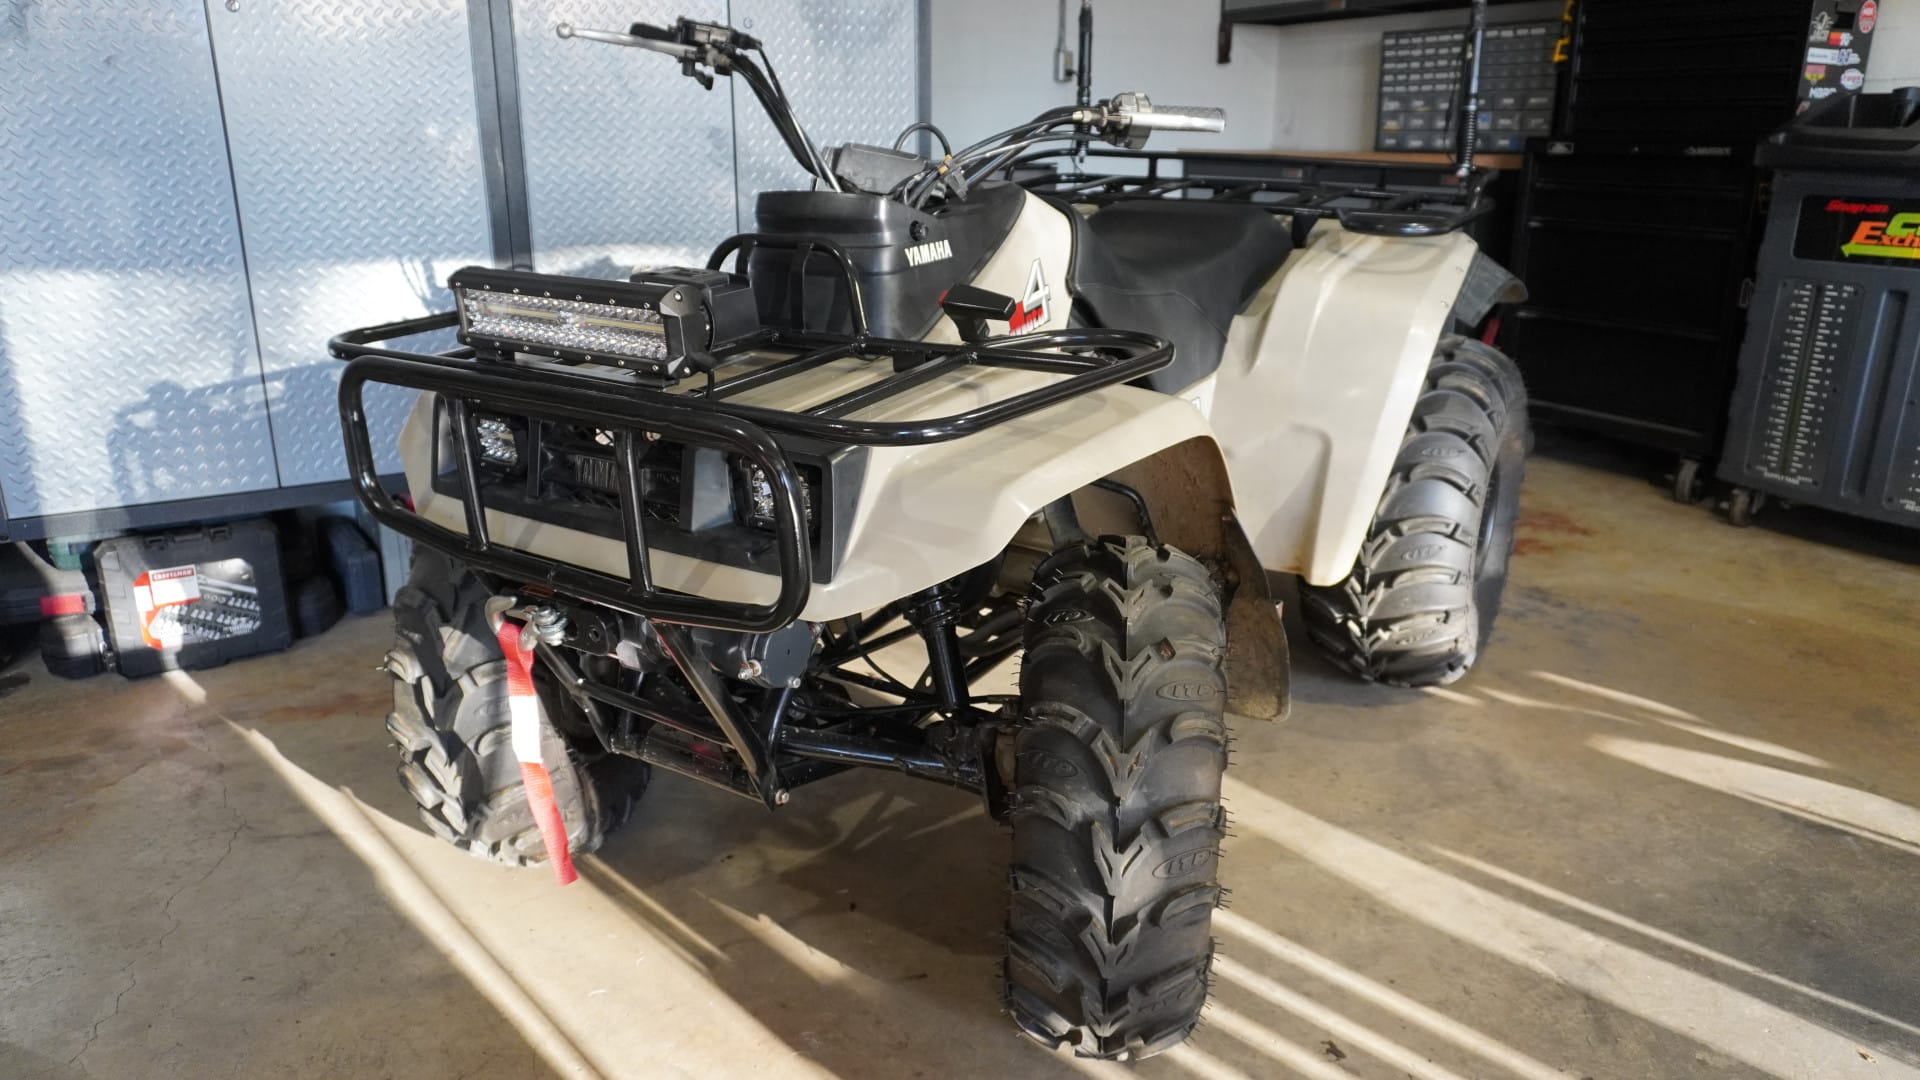
Despite the Moto-4 being in relatively good condition she needed some work. I’m not the only one who has rolled this machine. I know of at least two other times it was rolled. So, let’s just say the front and rear rack needed bent back to flat and repainted. I also wanted to start maintaining this thing. I replaced the oil, oil filter and battery. I also added an hour meter so I could keep this thing on a schedule.
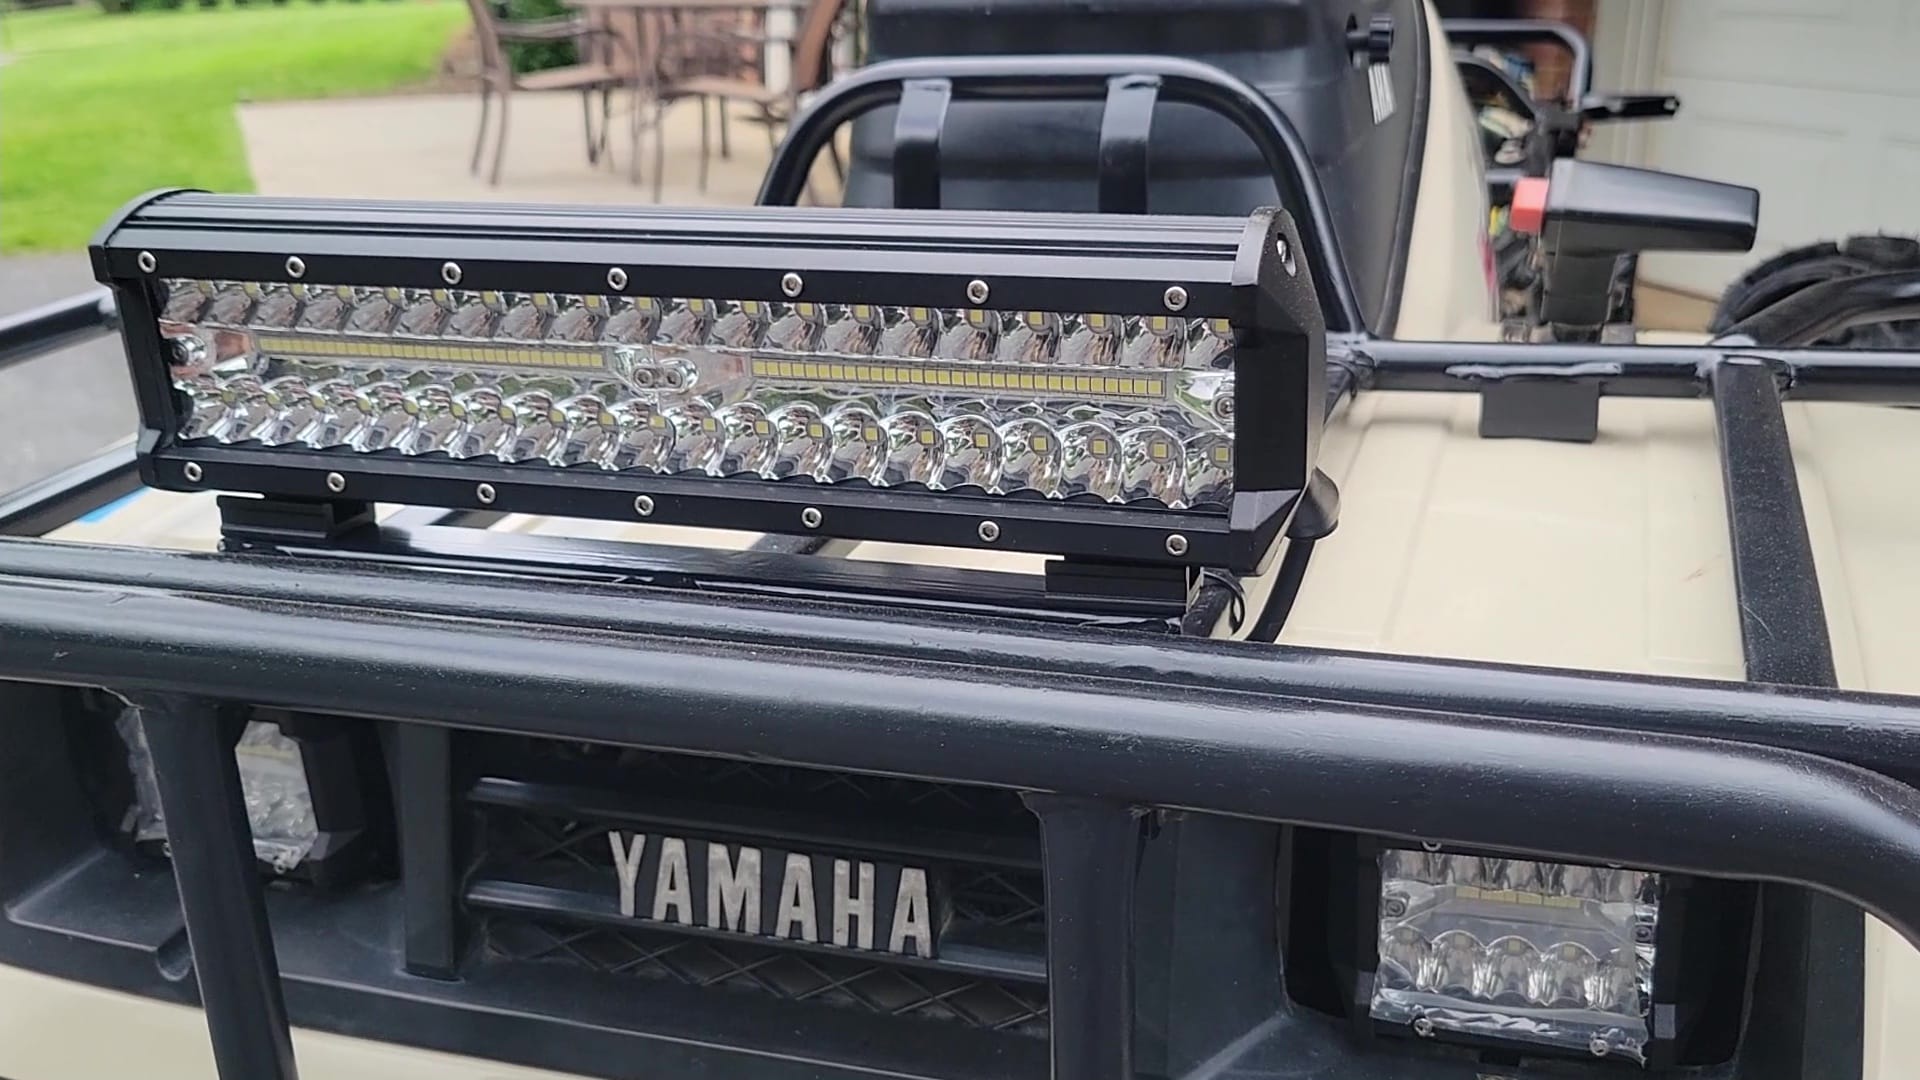
So much of the riding I do takes place at night. To modernize the ATV, I replaced the headlights and taillights with LEDs and added a light bar.
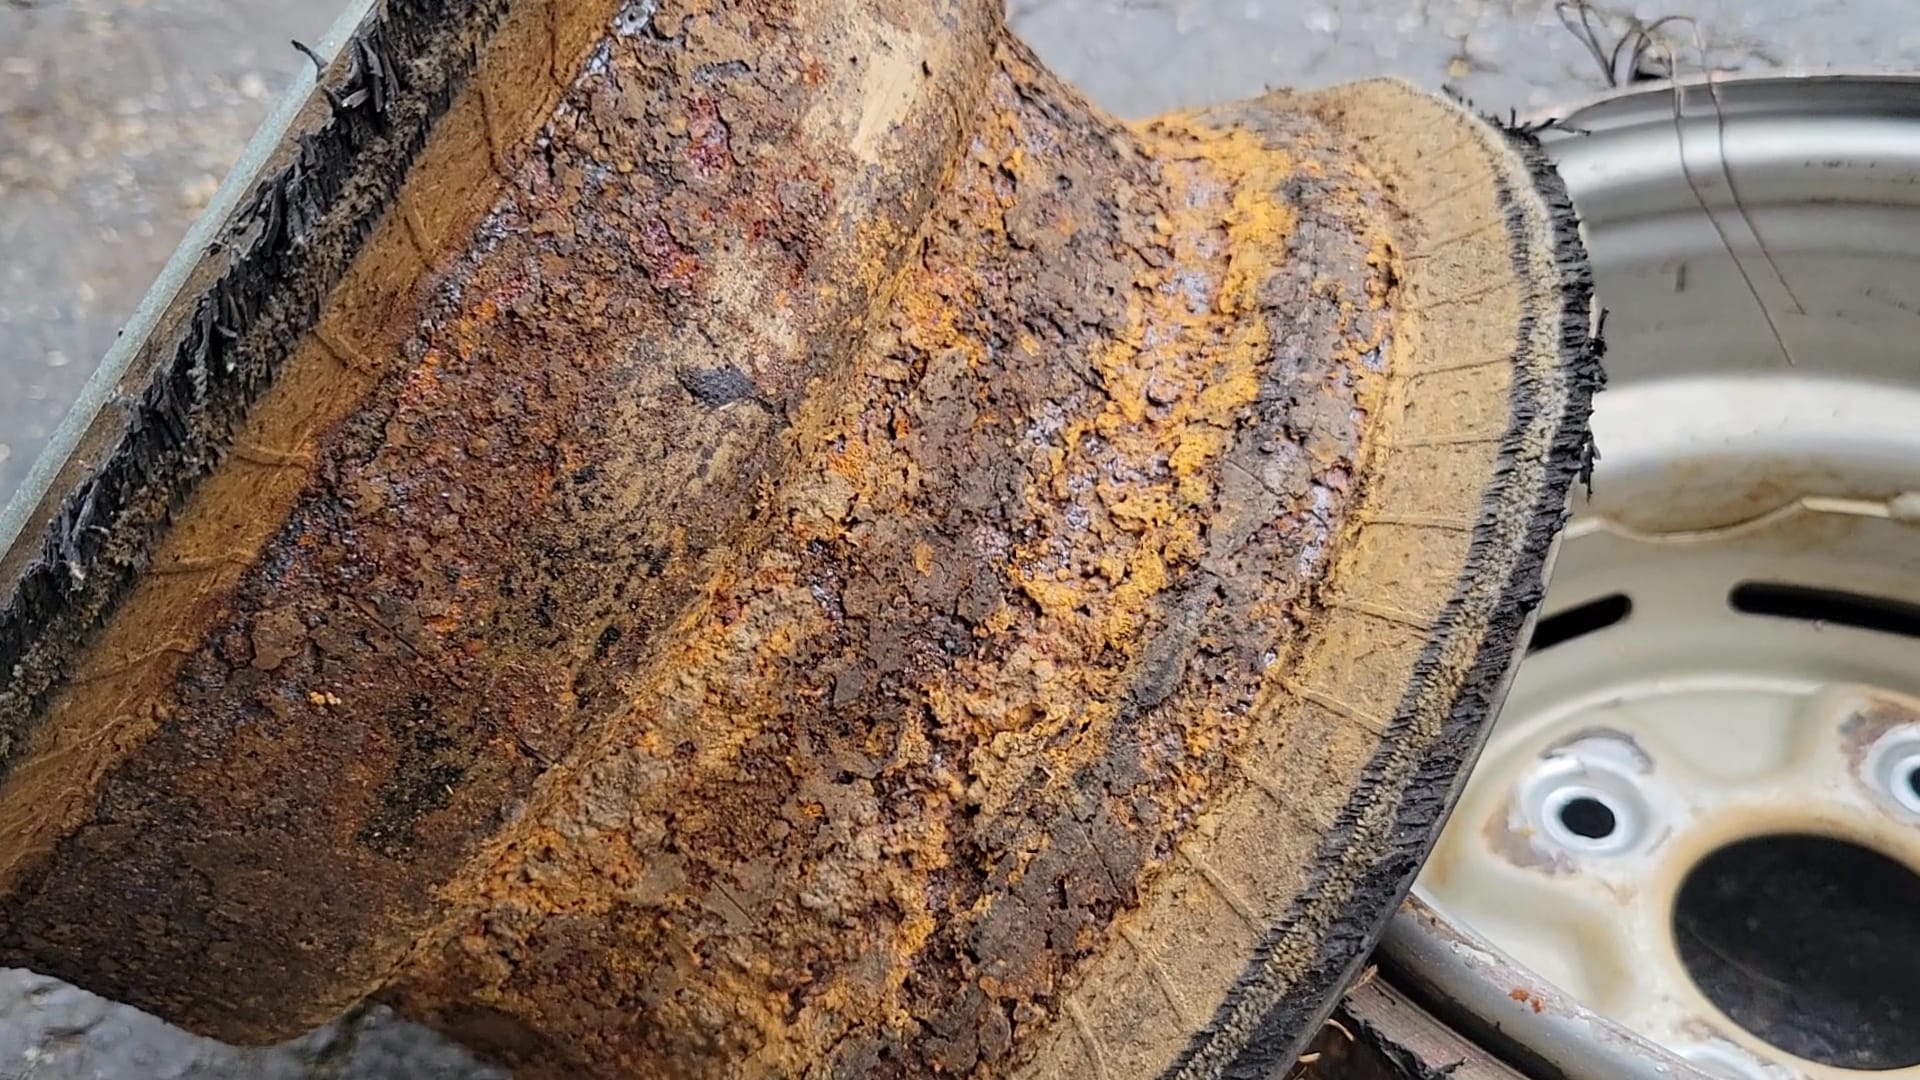
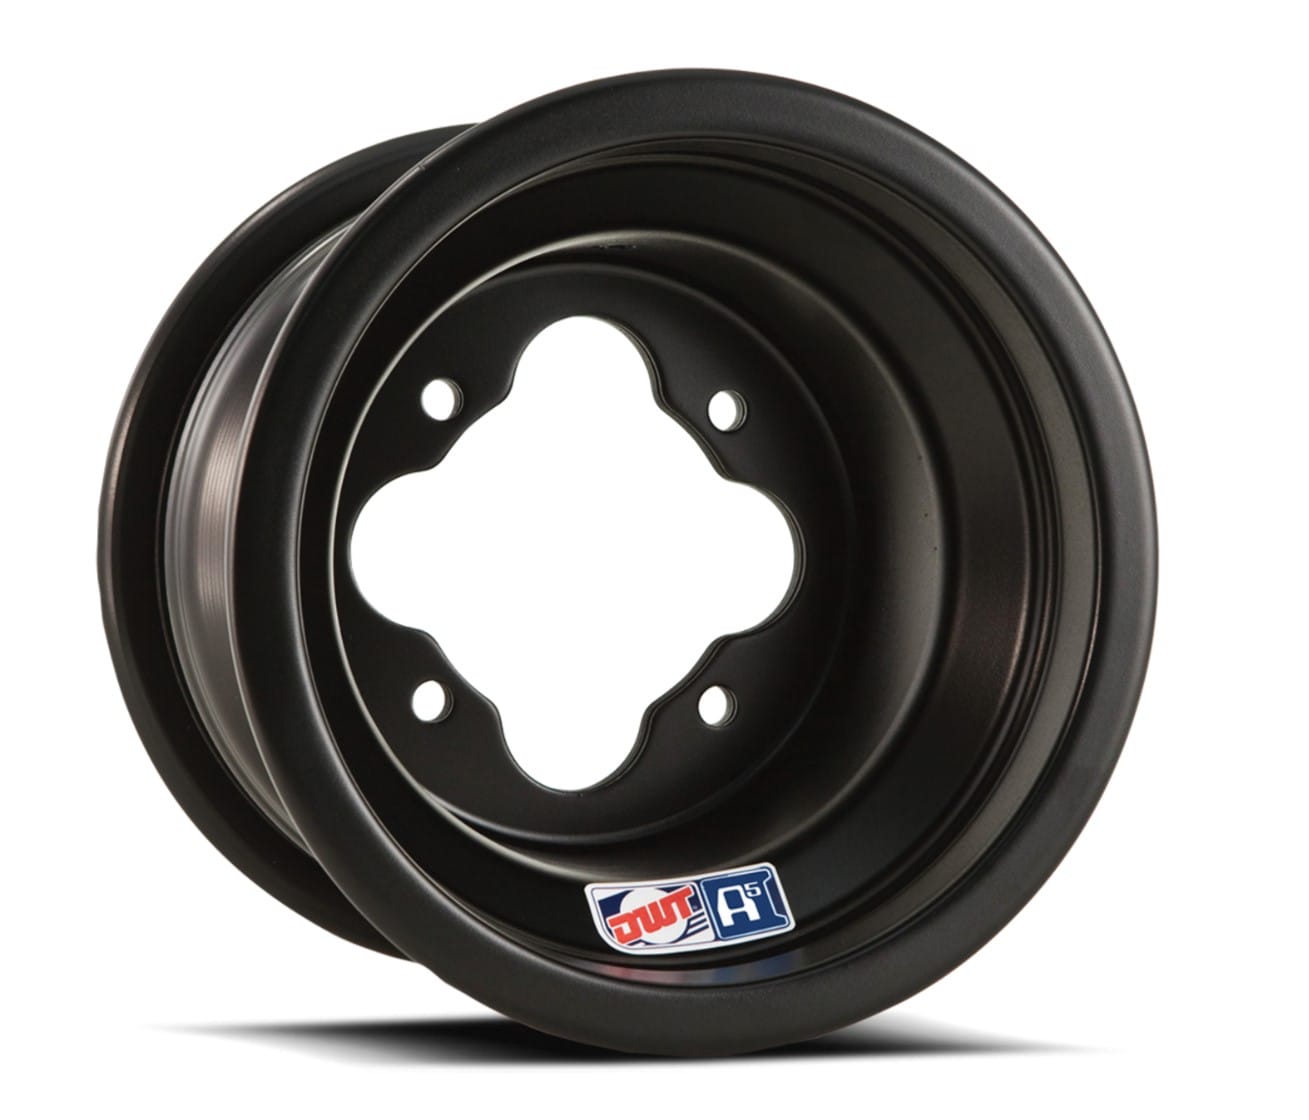
This is where things start to get a little ugly. I went to replace the tires and found the rims to be completely rusted out. There was no saving those things! I did what I had to and broke out my wallet. The new wheels and tires made such a difference in how this machine looks!
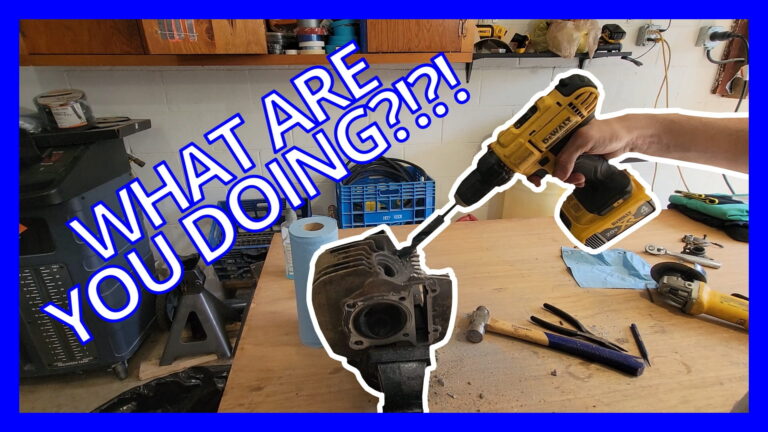
When replacing the wheels and tires, I couldn’t help but notice the Swiss cheese exhaust. So obviously this needed replaced right? Looking back, I should have left it alone! In my efforts to remove the old exhaust, I broke the bolt that held it to the head. Despite my best efforts at drilling out the bolt and trying to extract it, it would not budge. It got to the point where the threads in the head were trashed.
It might have been possible to use an insert to restore the threads but, aftermarket heads were fairly cheap at the time. I decided it would be best to just replace it. Tearing down the bike wasn’t a hard process. Since I had it this far, I may as well get it cleaned up.
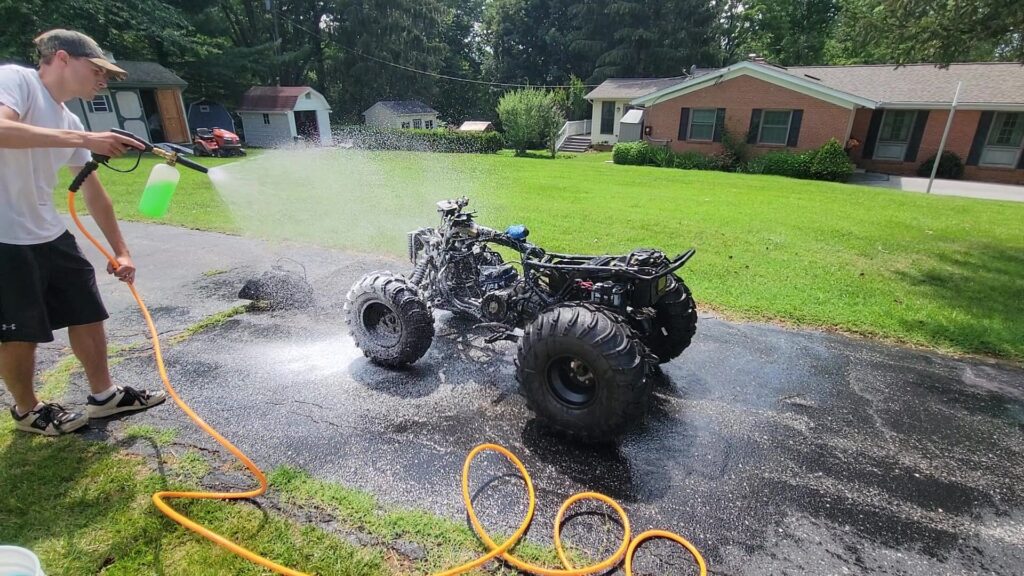
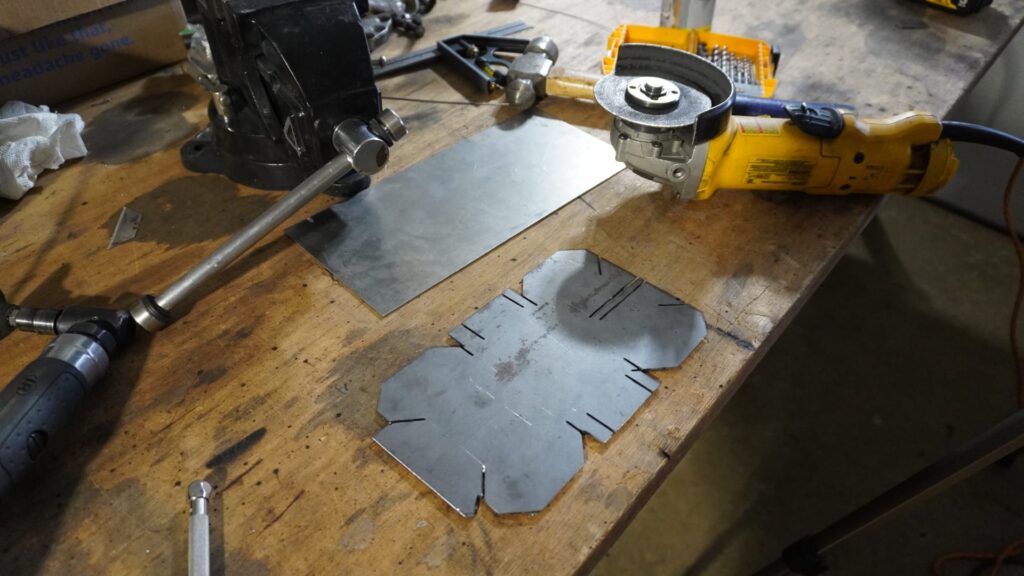
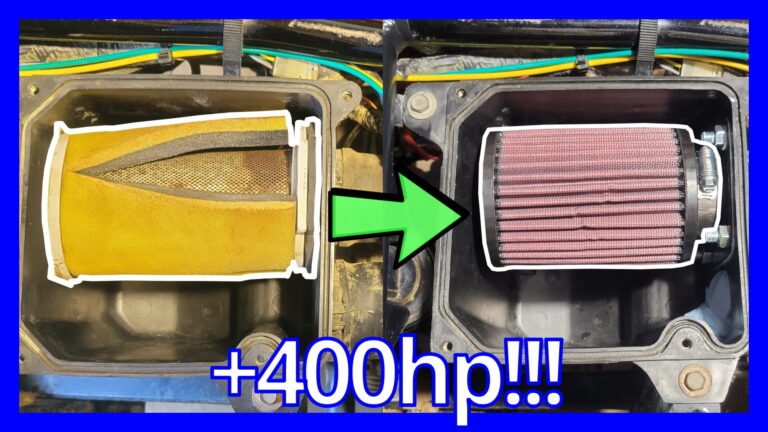
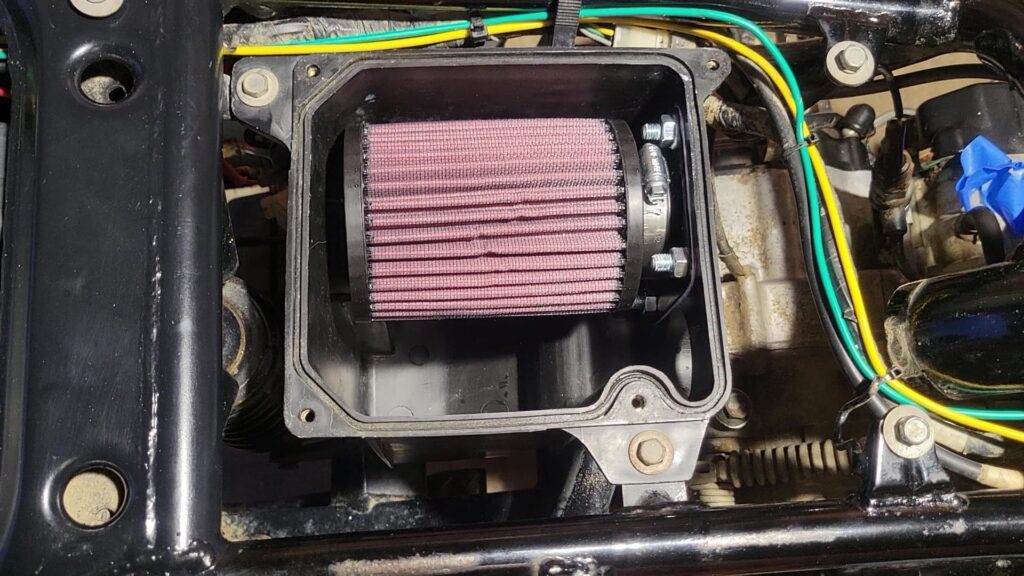
With all the plastic off the bike, I took the opportunity to complete a modification that I’ve wanted to do for a long time. The original air filter never sealed and I wasn’t a fan of the design. I modified the air filter box to accept a K&N air filter. I created a custom bracket that mounted to the air box that the filter could clamp onto. I would say that this is a massive improvement.
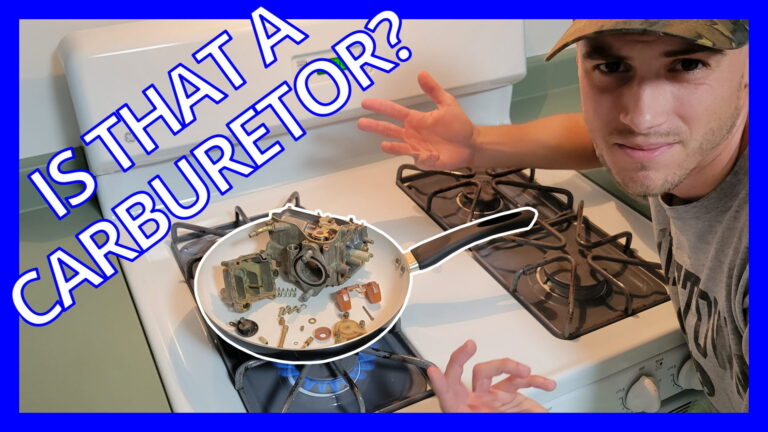
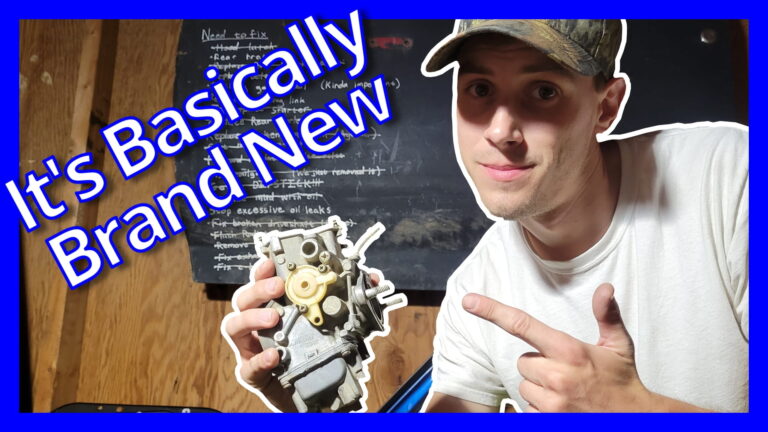
As most projects do, one thing led to another and I ended up completely rebuilding the carburetor. It didn’t need to be rebuilt but it’s the original carb. After opening it up, I’m glad I took the time to take care of this now.
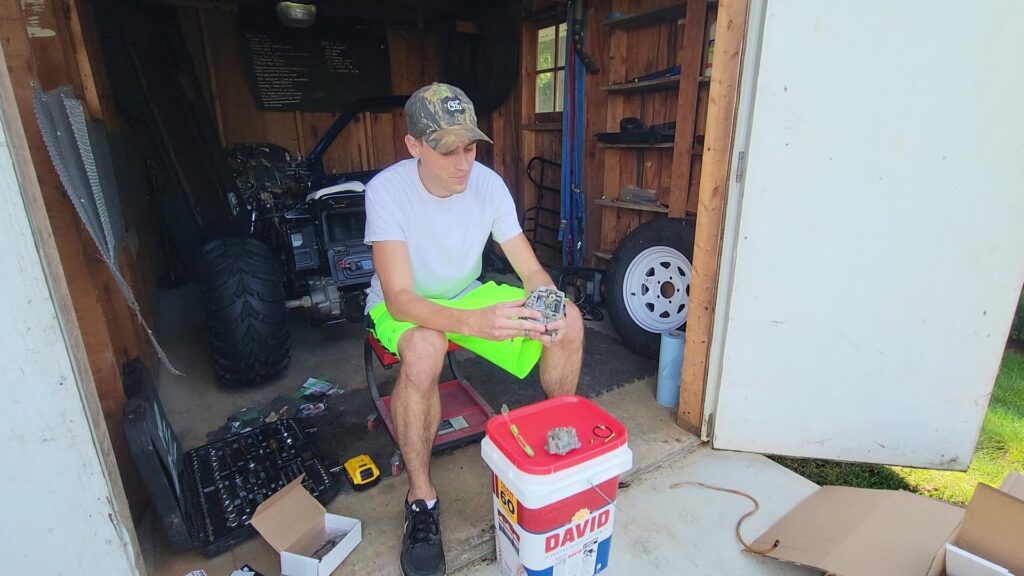
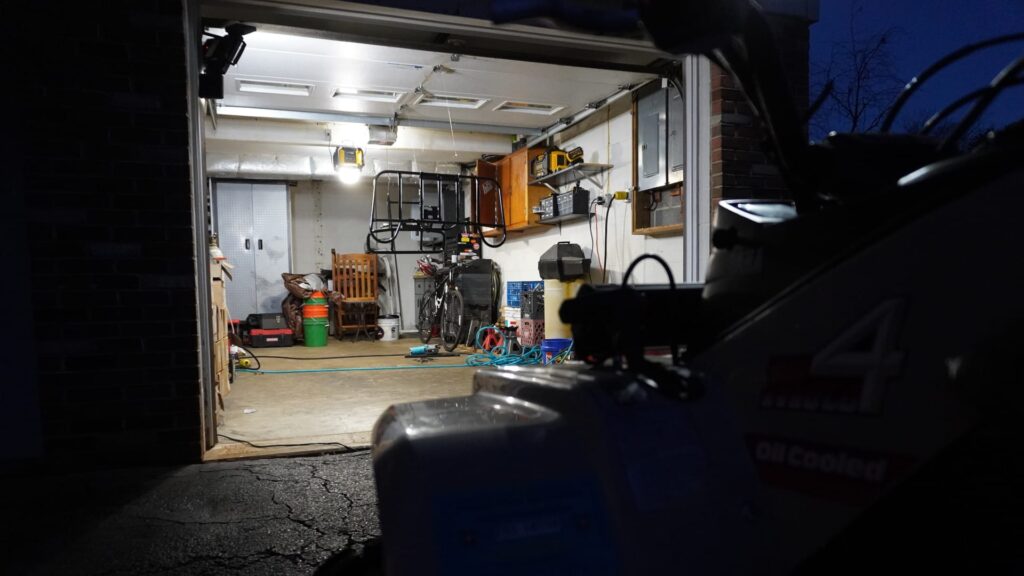
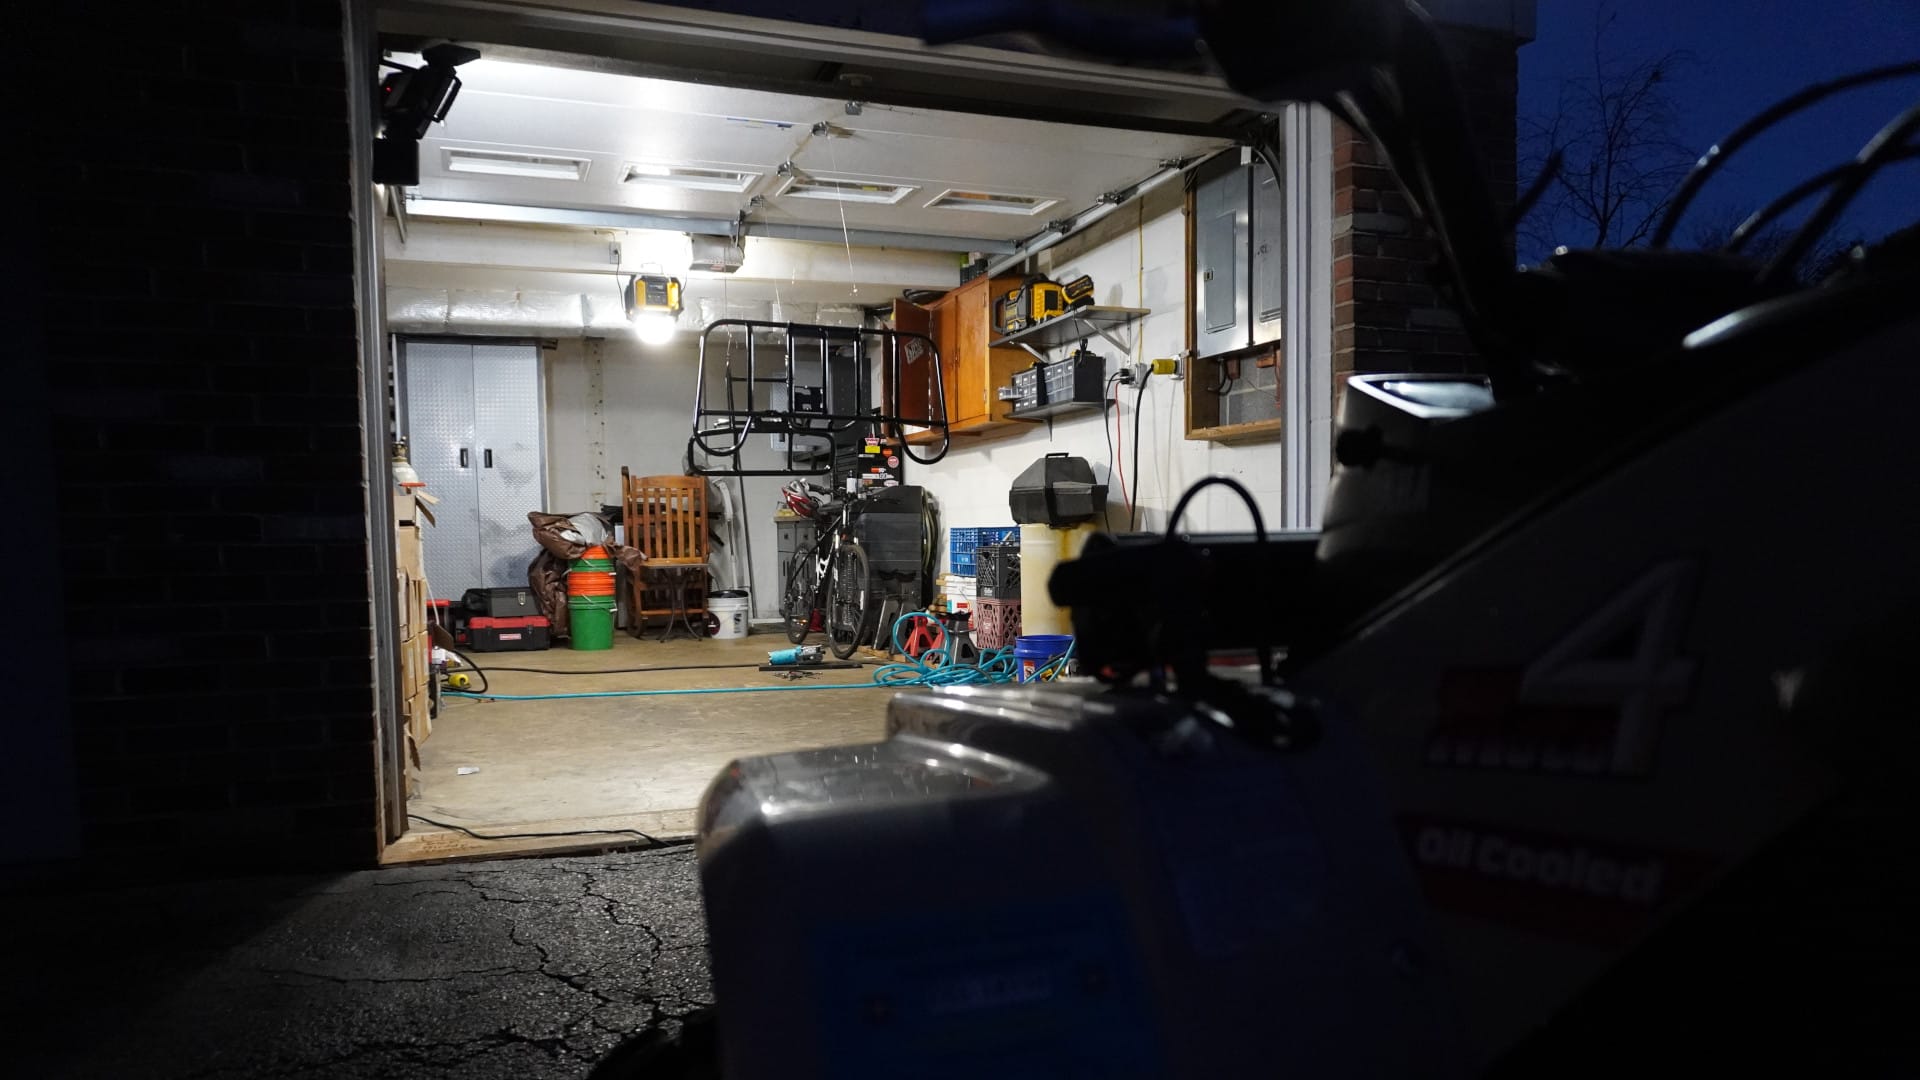
Almost all the work I did on this thing was in my driveway and in the shed. Sometimes all you need is a bucket to use as your work bench.
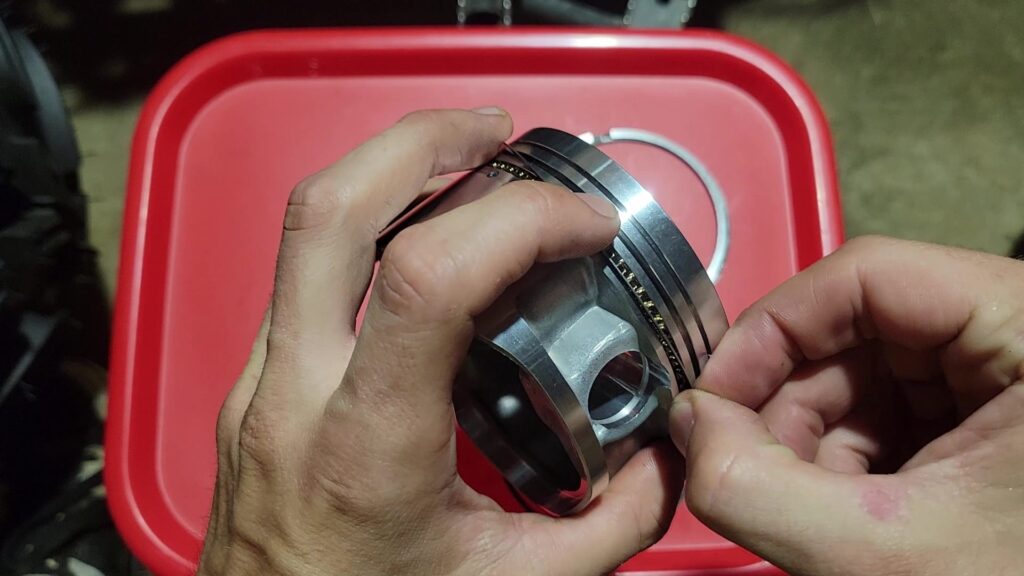
Rather than trying to fix the old head I just decided to replace it. I ended up replacing the entire top end. Backbreaker got a new cylinder, head, piston and rings.
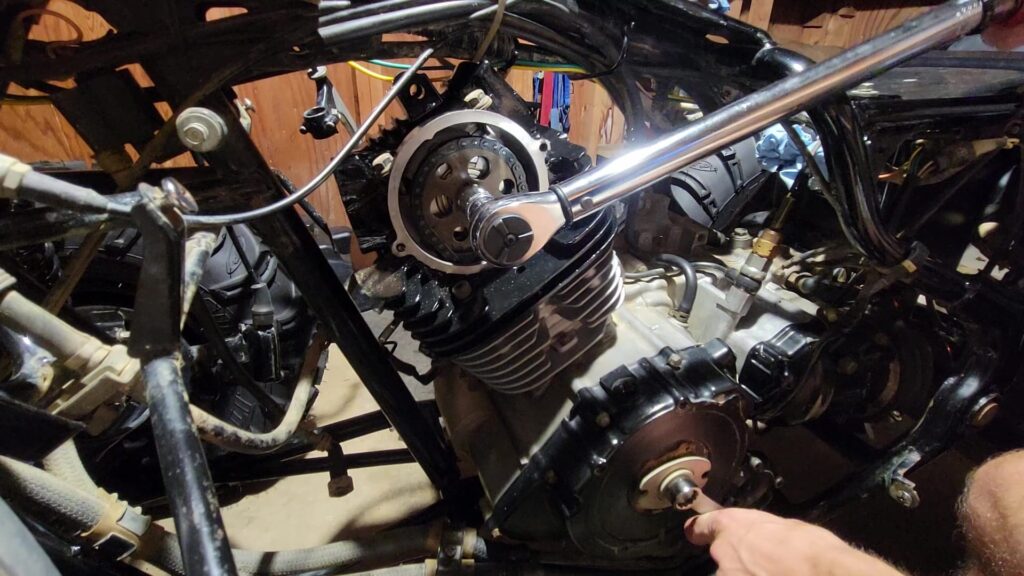
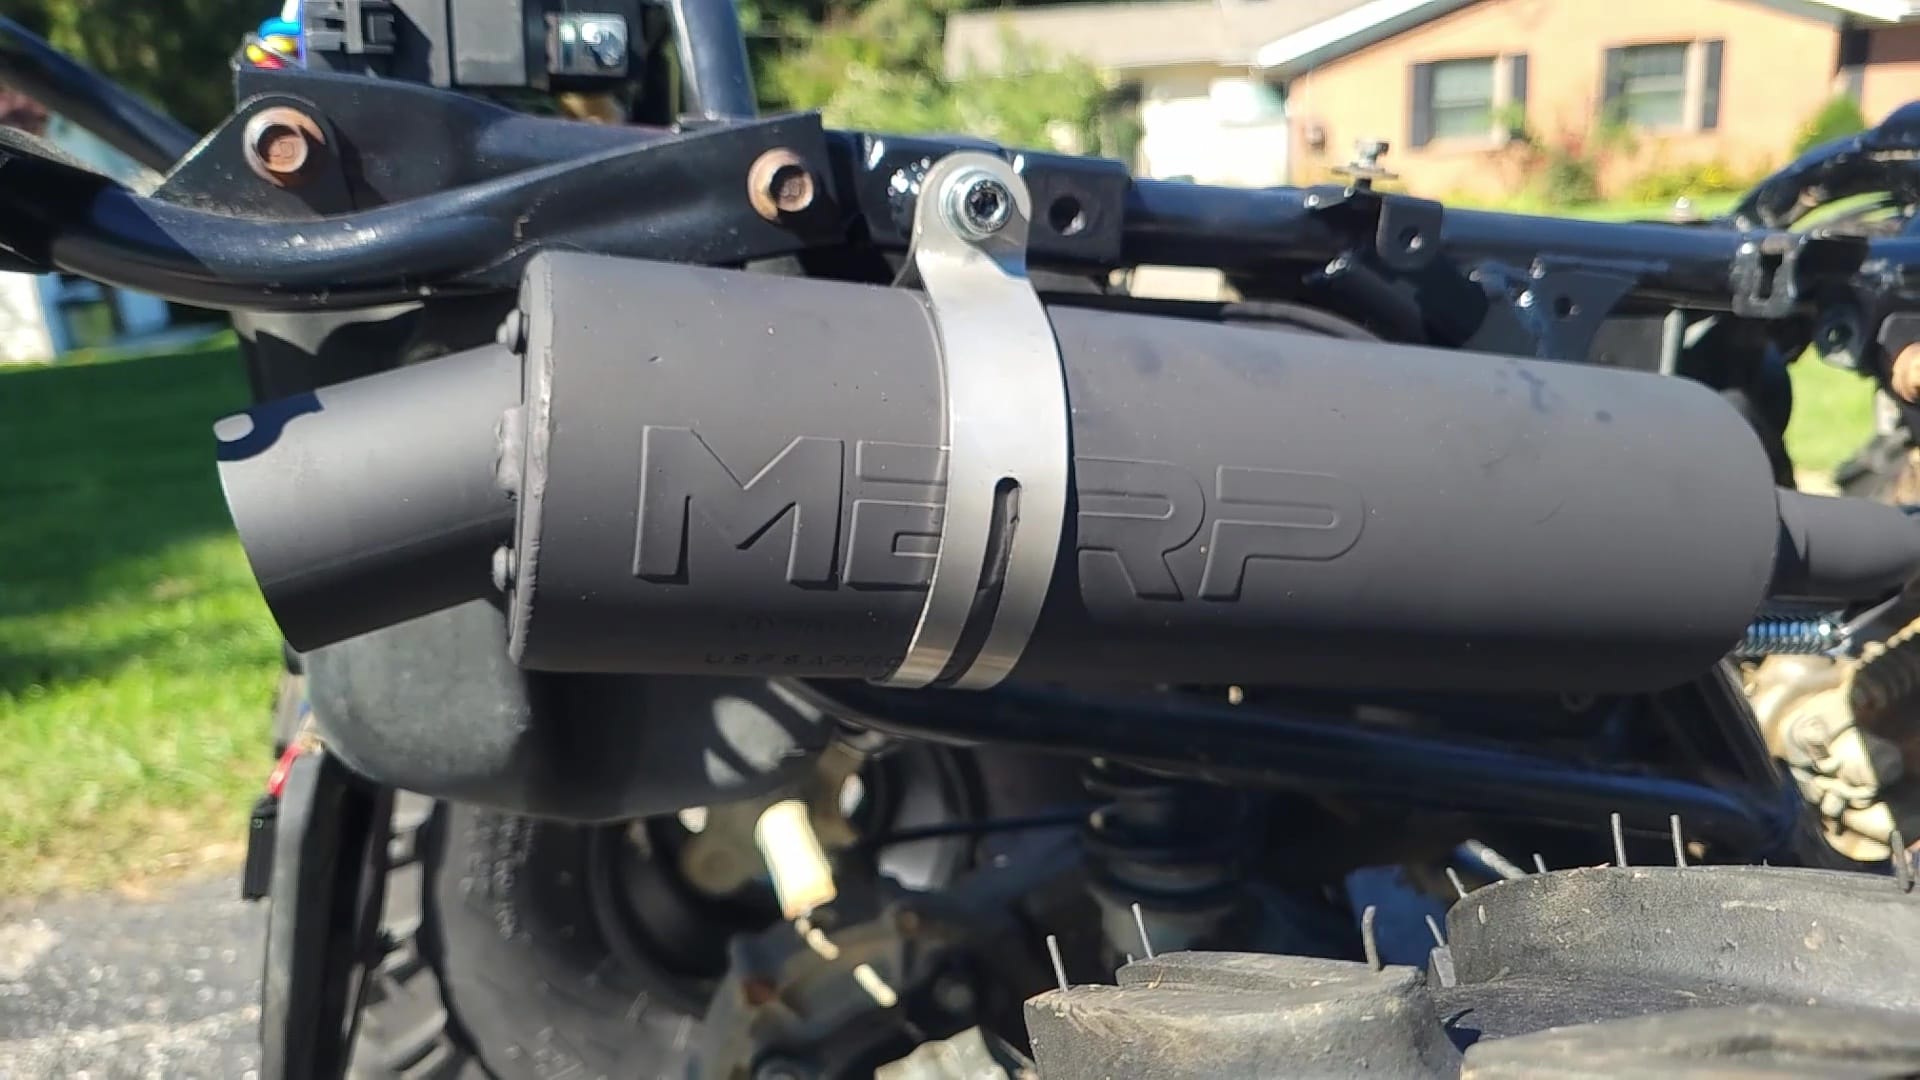
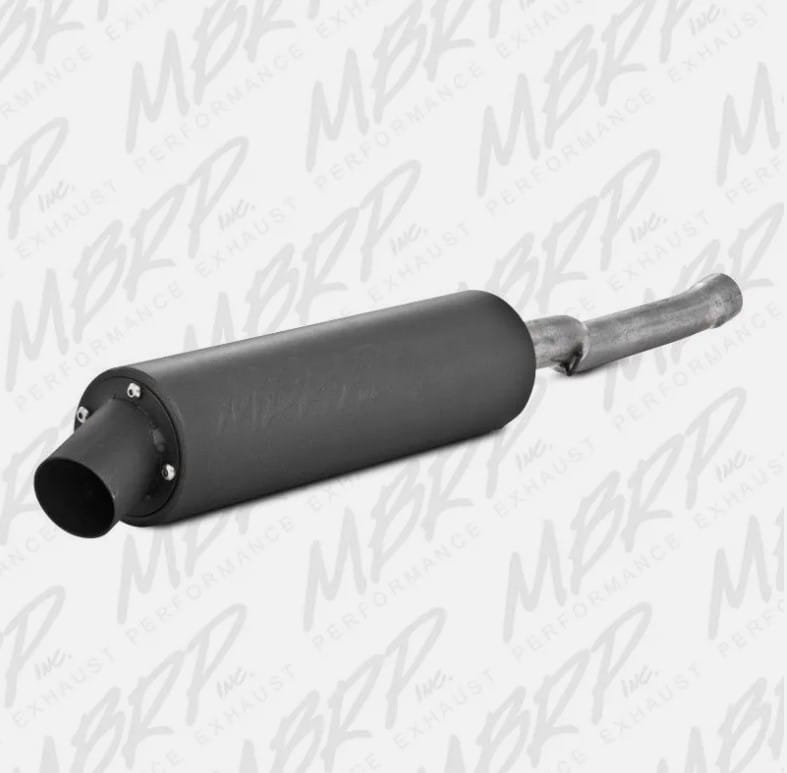
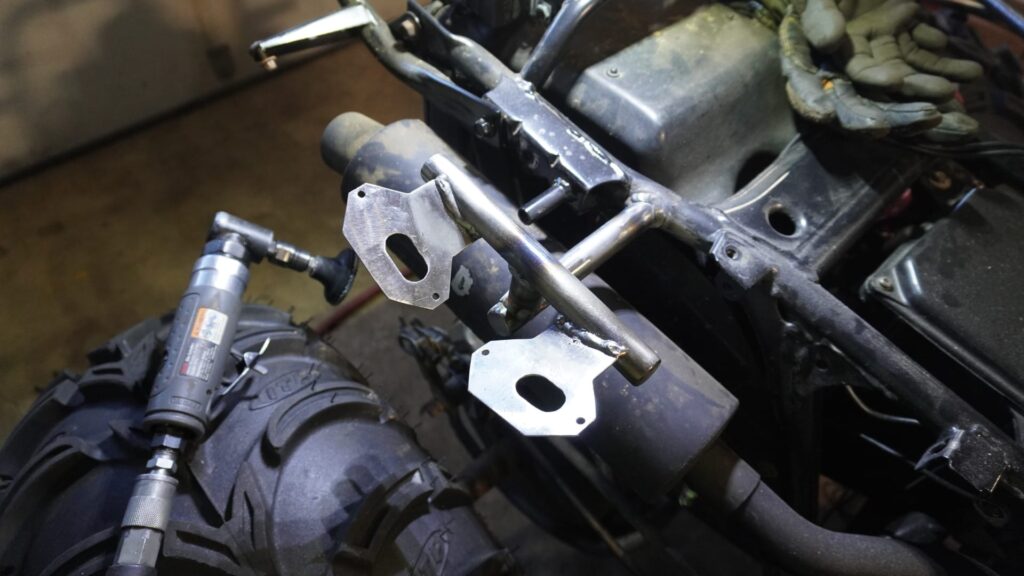
Once assembled this thing actually fired right up. It was just a little loud… I mean it didn’t have an exhaust. Not wanting to make the entire neighborhood mad, I built some custom brackets to hold a MBRP exhaust. I had to go with this option since I was unable to find any direct replacements at the time. The MBRP seems to be built much better than the original. Not to mention it looks a lot better too.
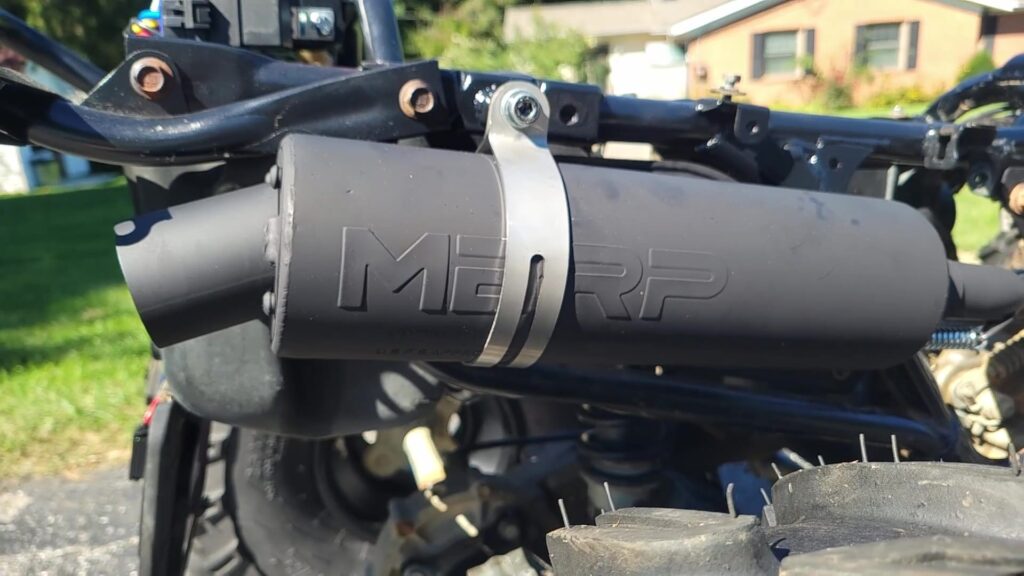
Backbreaker was really coming together. There was just a few more things that needed to happen in order to make it a true off-road machine.
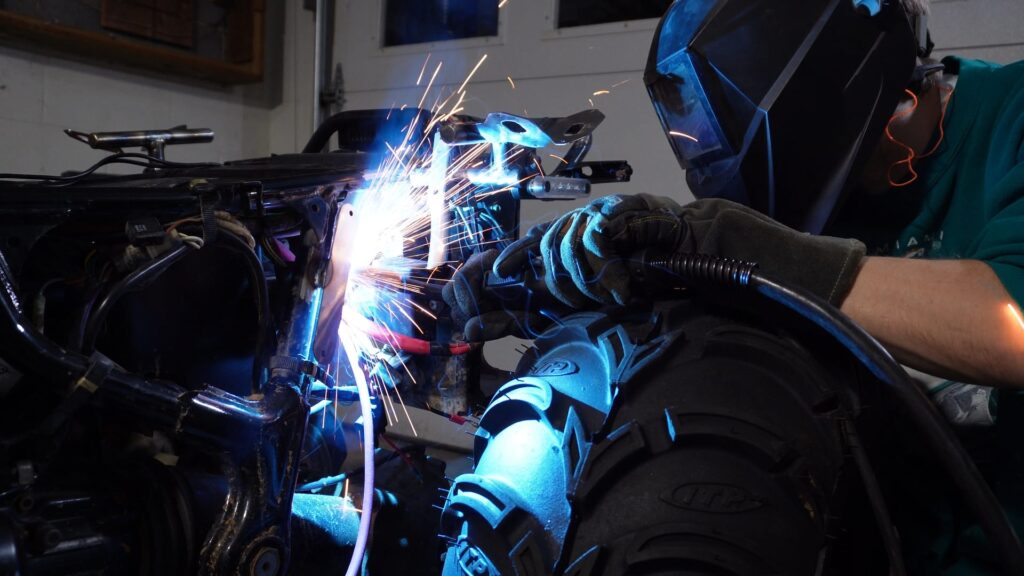
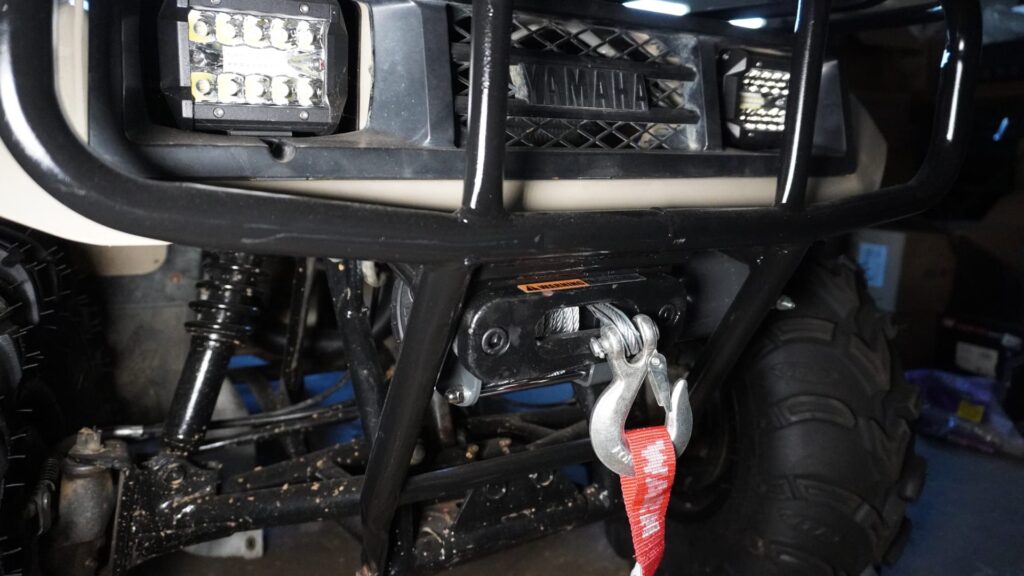
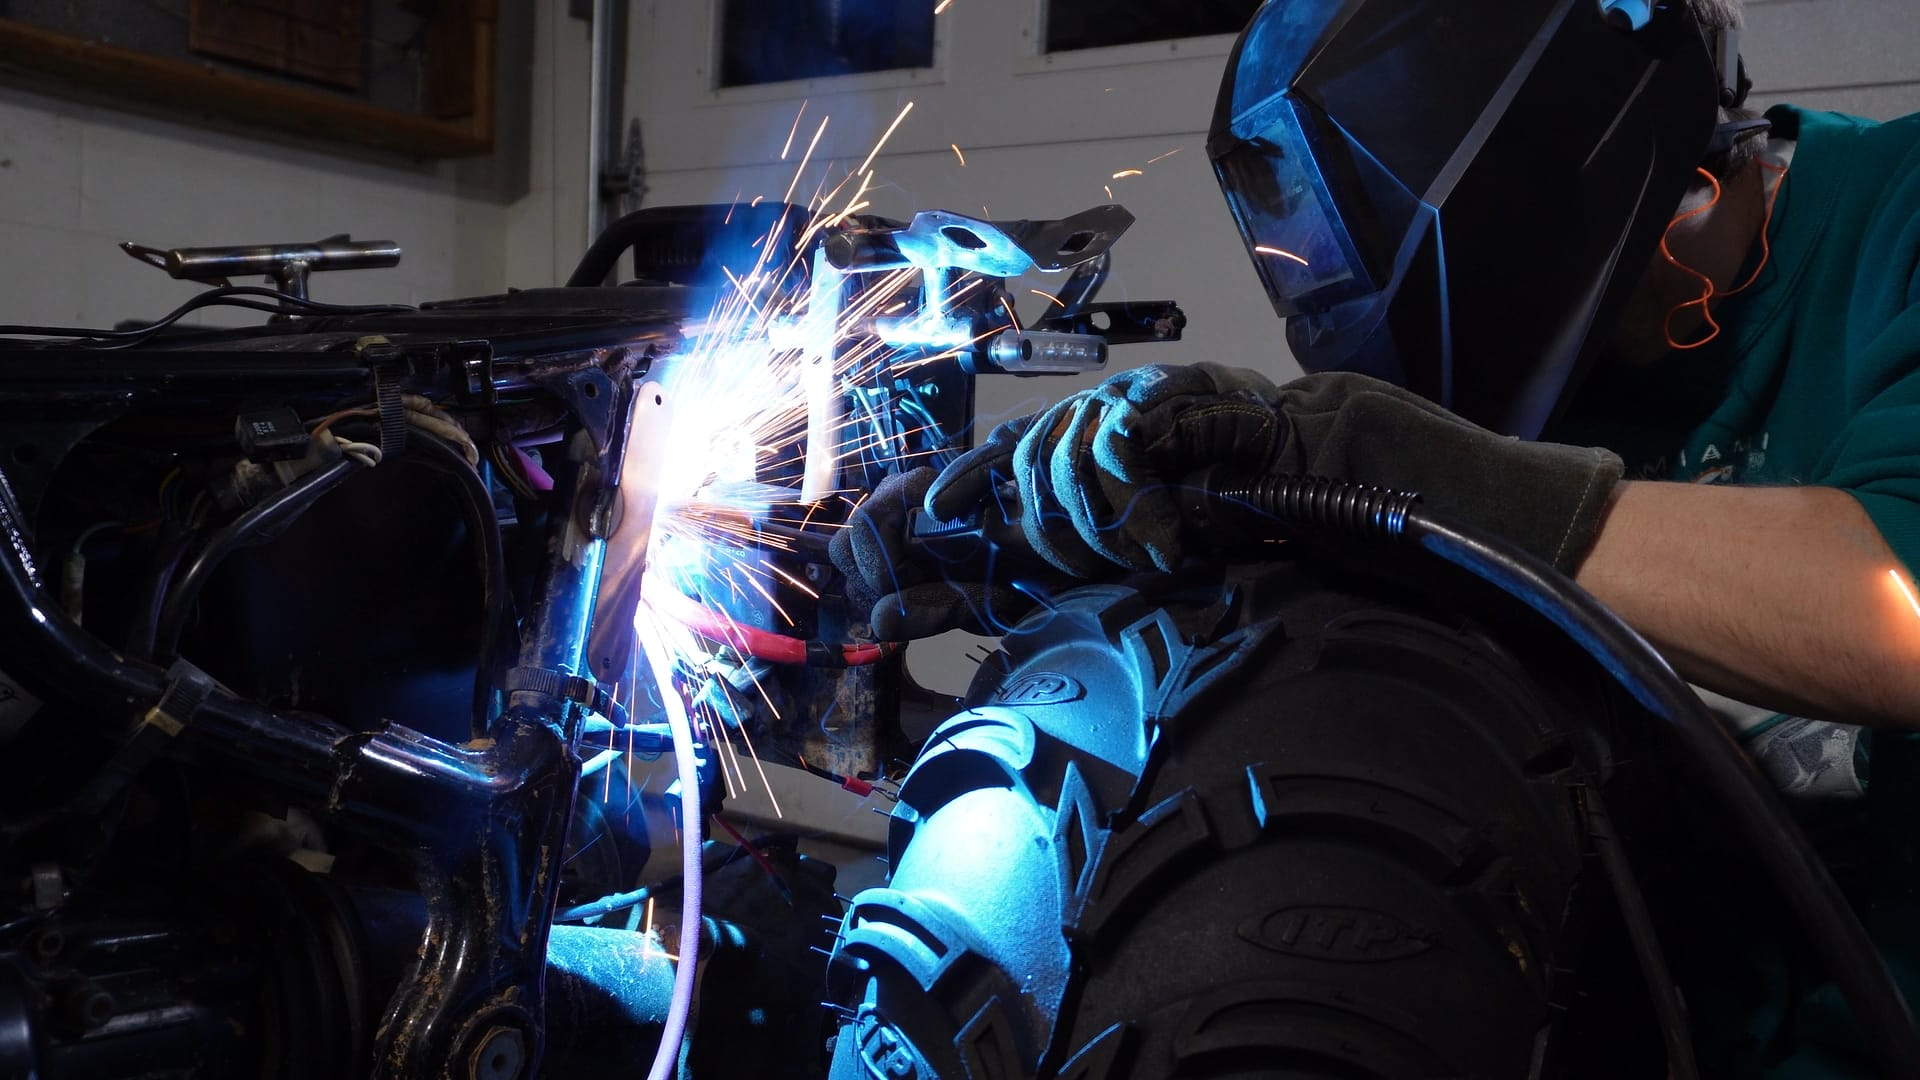
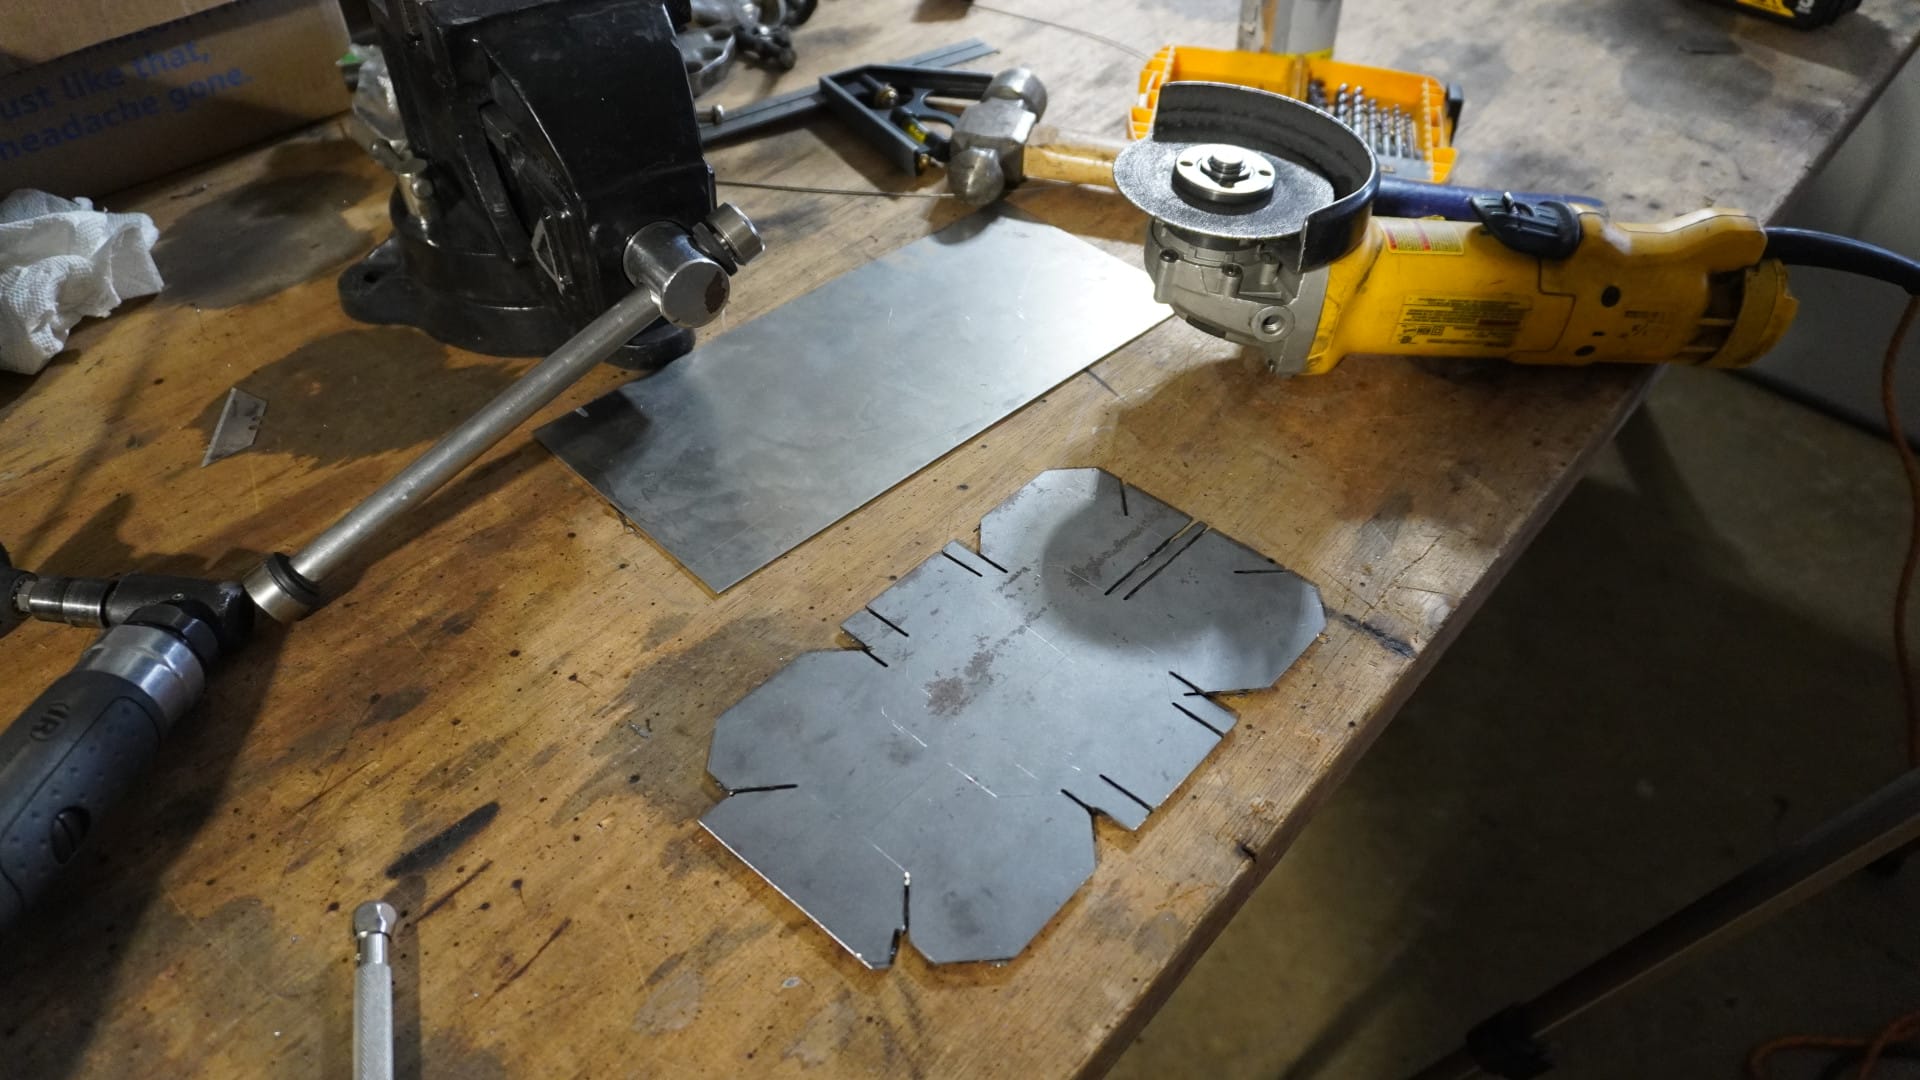
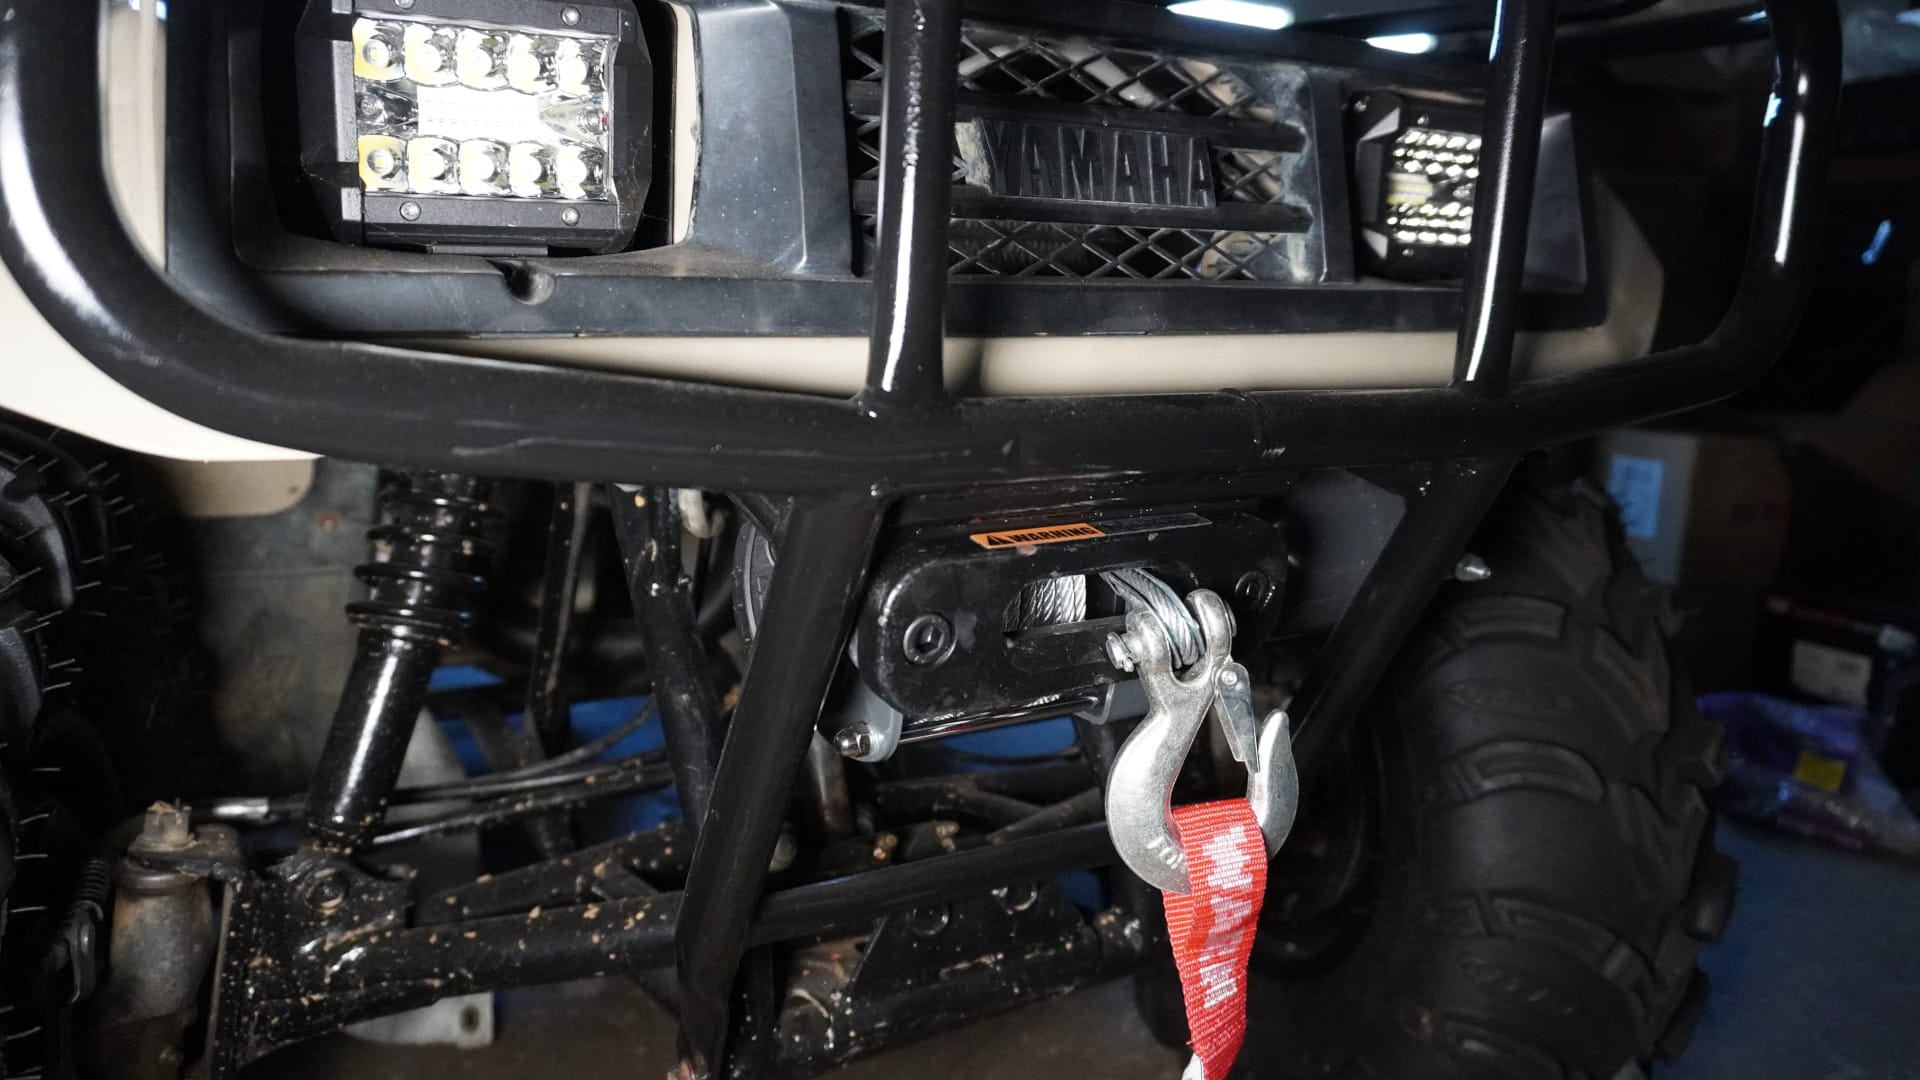
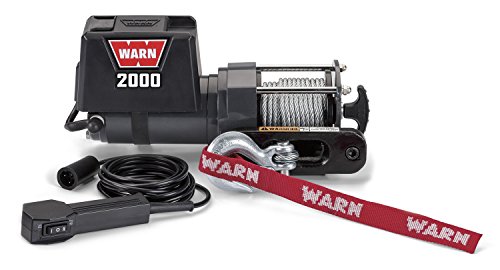
First thing first. It needed winch. I was able to pick up this Warn 2000lb trailer winch for less than $40! I welded up the Badland winch plate to the bumper. There is about 0.25″ between the winch motor and the tire when turning but I was surprised at how well it all fit! And yes, it bothers me that its’s not centered. There was no other way!
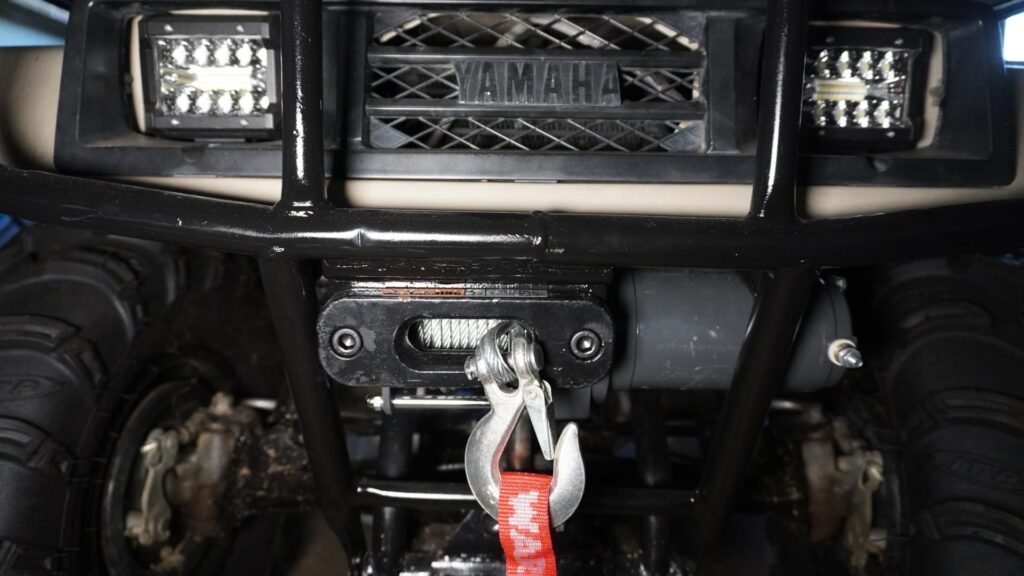
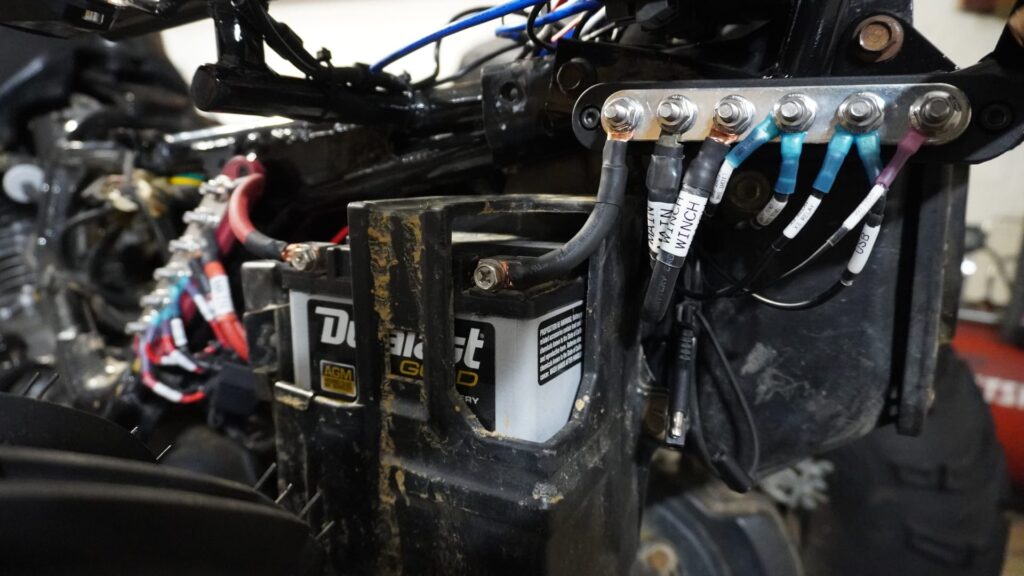
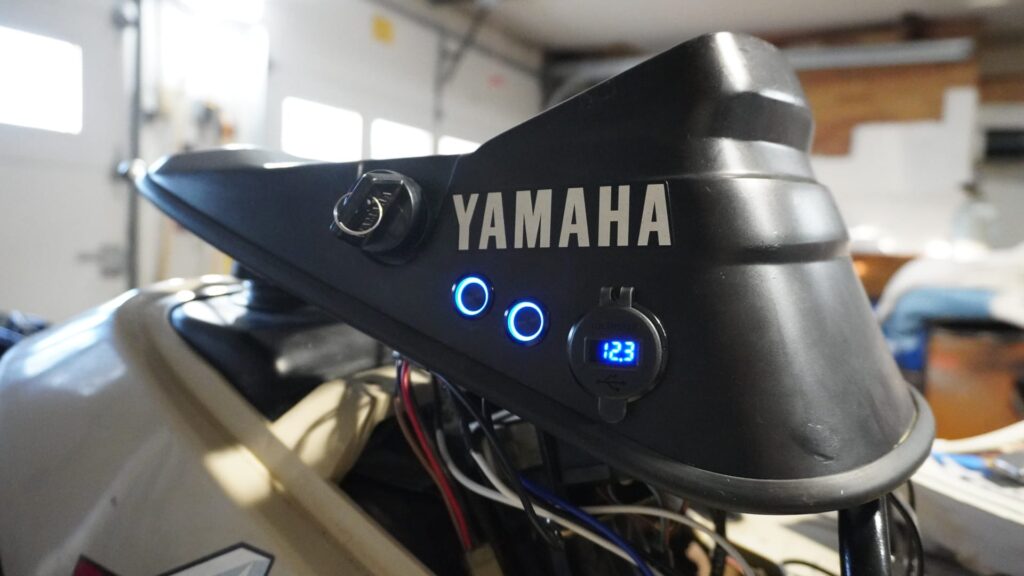
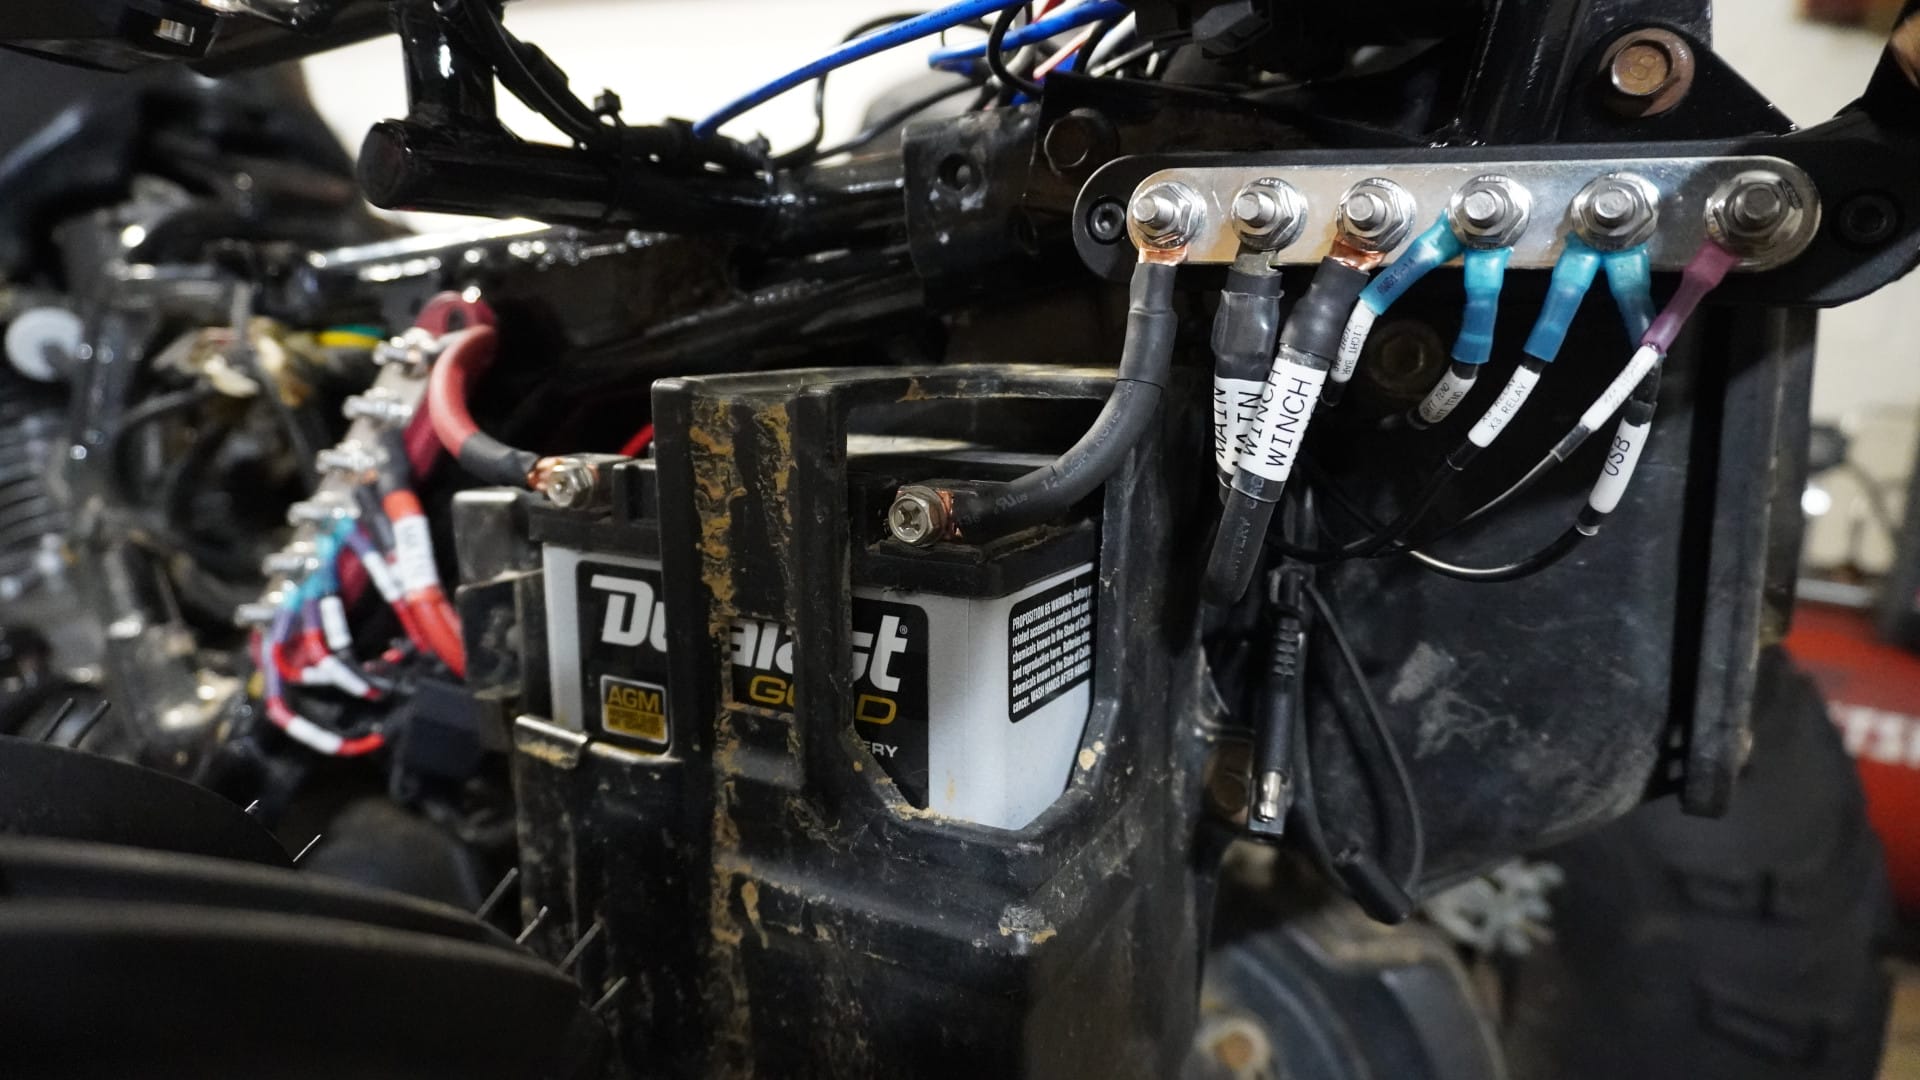
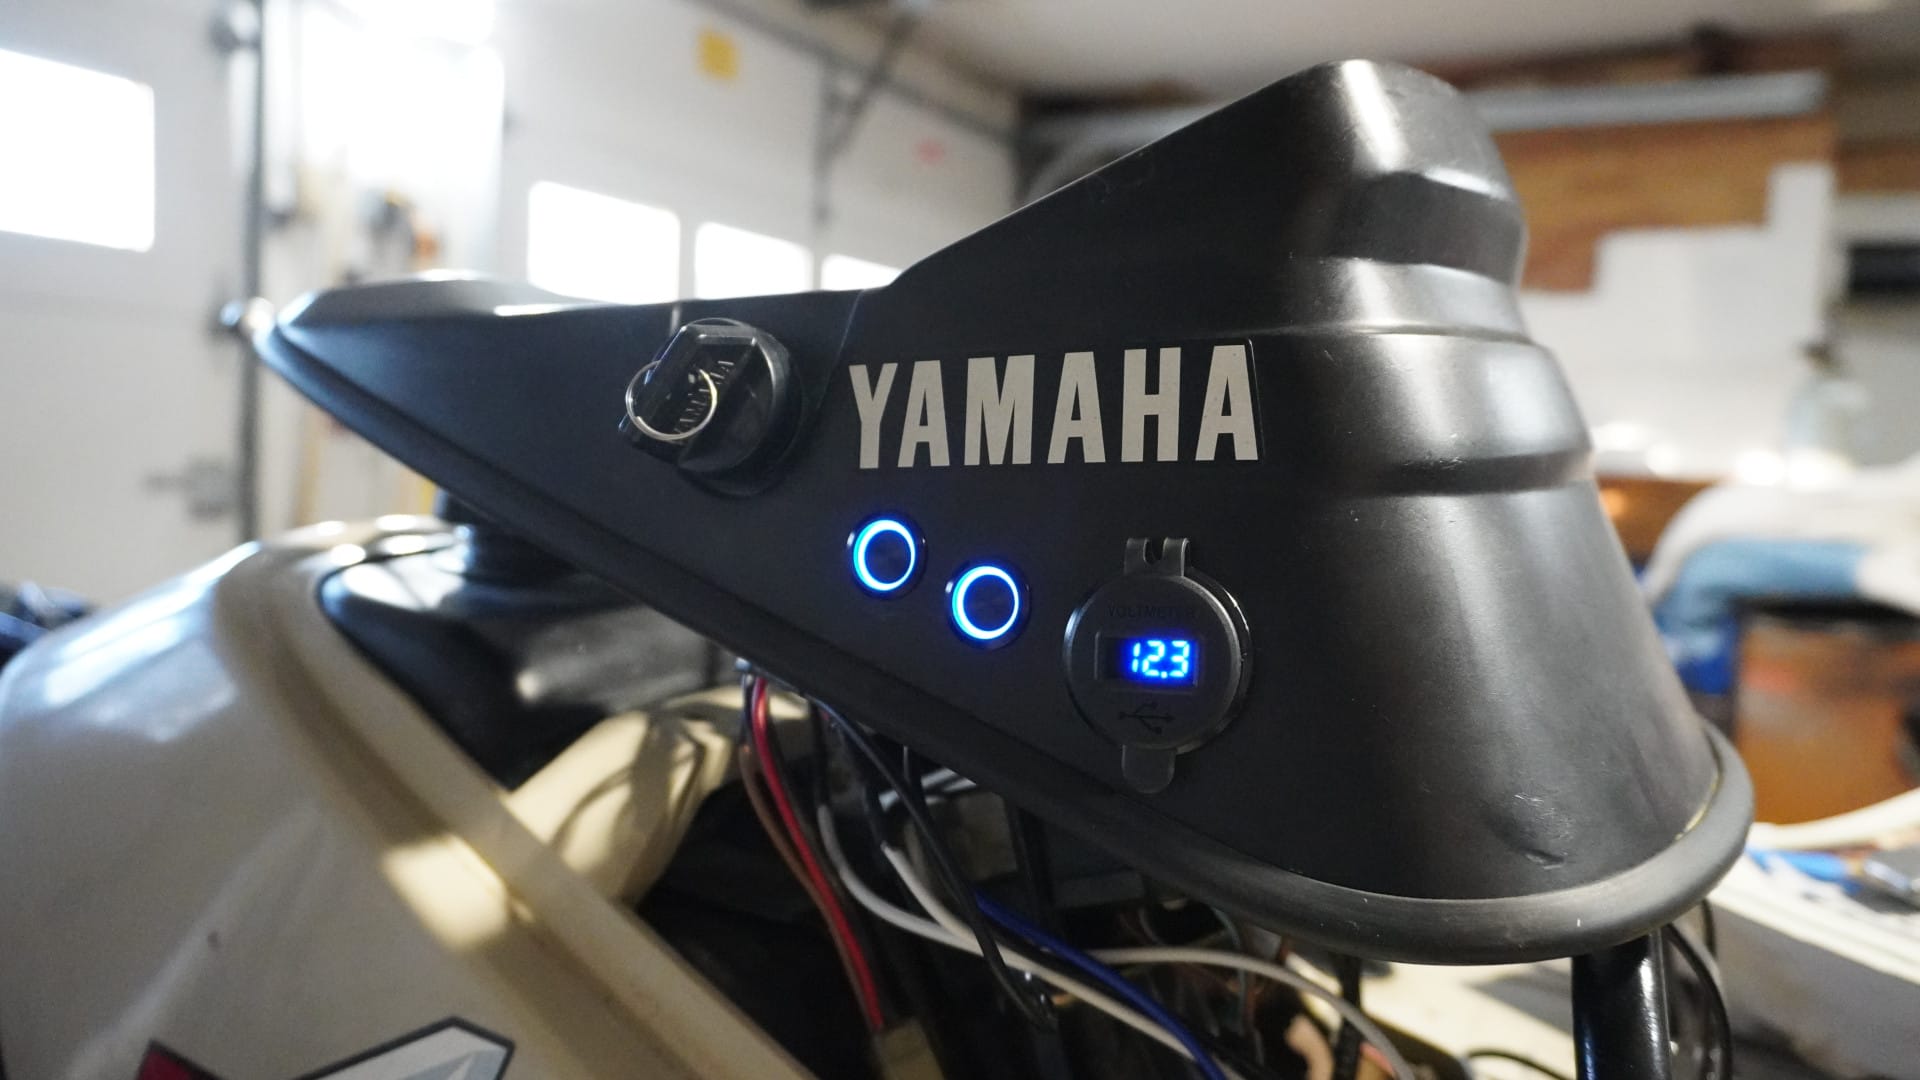
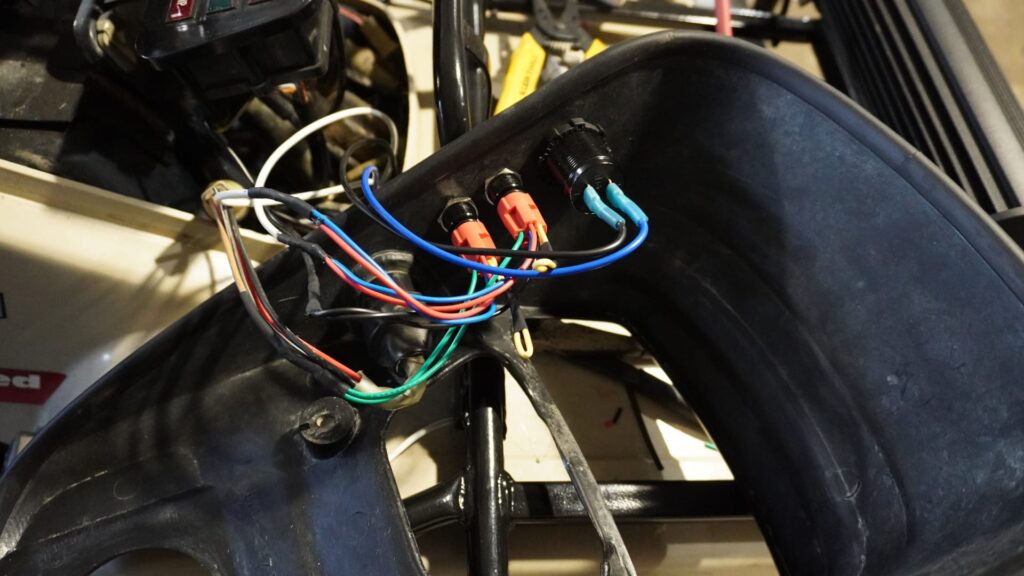
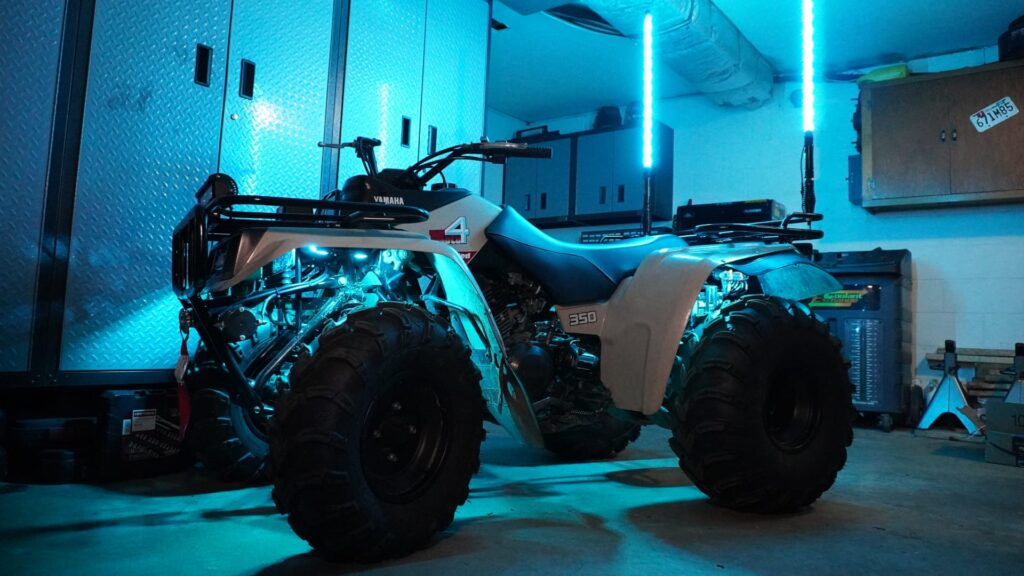
All off road vehicles have a ton of lights. As usual, I went overboard with the lighting and wiring on this thing. To power it all I welded on some brackets to hold some bus bars, relays and drilled some holes in the plastic for switches. On top of the headlight and light bar already on it, I added reverse lights, whips, rock lights, and a USB power outlet. Never know when you’re going to need to charge your phone out on the trails.
Was it a waste to dump all this money into a machine this old? I don’t think so. There’s something cool about keeping these old machines alive. I’m glad I fixed it up. And I mean come on… you can’t tell me it doesn’t look amazing.
PARTS USED IN THIS BUILD
Electrical
This wire is pure copper. We try to use pure copper wiring as much as possible.
A fast-charging USB outlet. It's also nice that the voltage is displayed on the unit.
Waterproof relays are a must in this application.
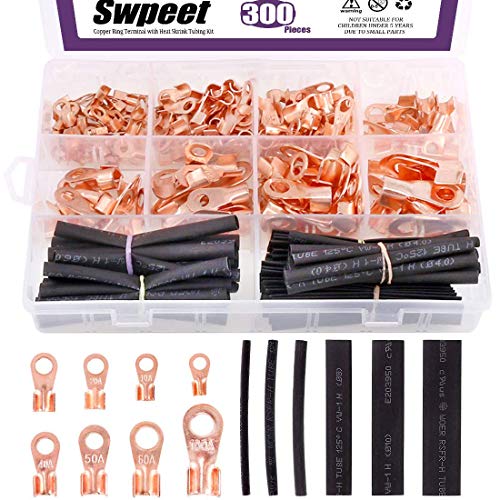
These pure copper lugs are used to connect the larger wires to the battery.
This is a pretty common size terminal that we use on 8AGW wire.
These terminals have heat shrink with glue in them making them very strong and waterproof.
Good fuse holders to protect aftermarket accessories. They use standard ATC automotive fuses.
A must have if you want to maintain small engines on a service schedule.
Engine & Fuel
A direct drop-in replacement for the cylinder head on the Moto-4.
A direct drop-in replacement top end for the Moto-4.
A better alternative to the OEM filter.
A good replacement for my boot that was tore in half.
A good spark plug for the Moto-4.
Modified the air box to fit this filter. There's a video on this modification!
Great filters for the cost.
This kit contained just about every part needed to rebuild the OEM carb.
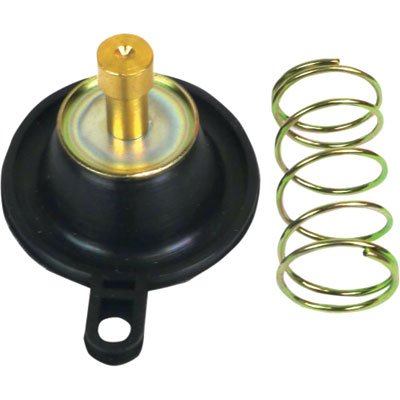
A common part that needs replaced on these older machines.
Took some custom modification to fit the Moto-4.
Handlebars
These grips look good and seem to hold up well.
Lighting
These lights have a ton of modes and have been holding up well.
These lights are waterproof making them perfect to be used in an off-road application.
LED replacements for the dash lights.
Recovery
Small winch that fit great under the bumper of the Moto-4.
Great plate and it gets the job done!
Seat
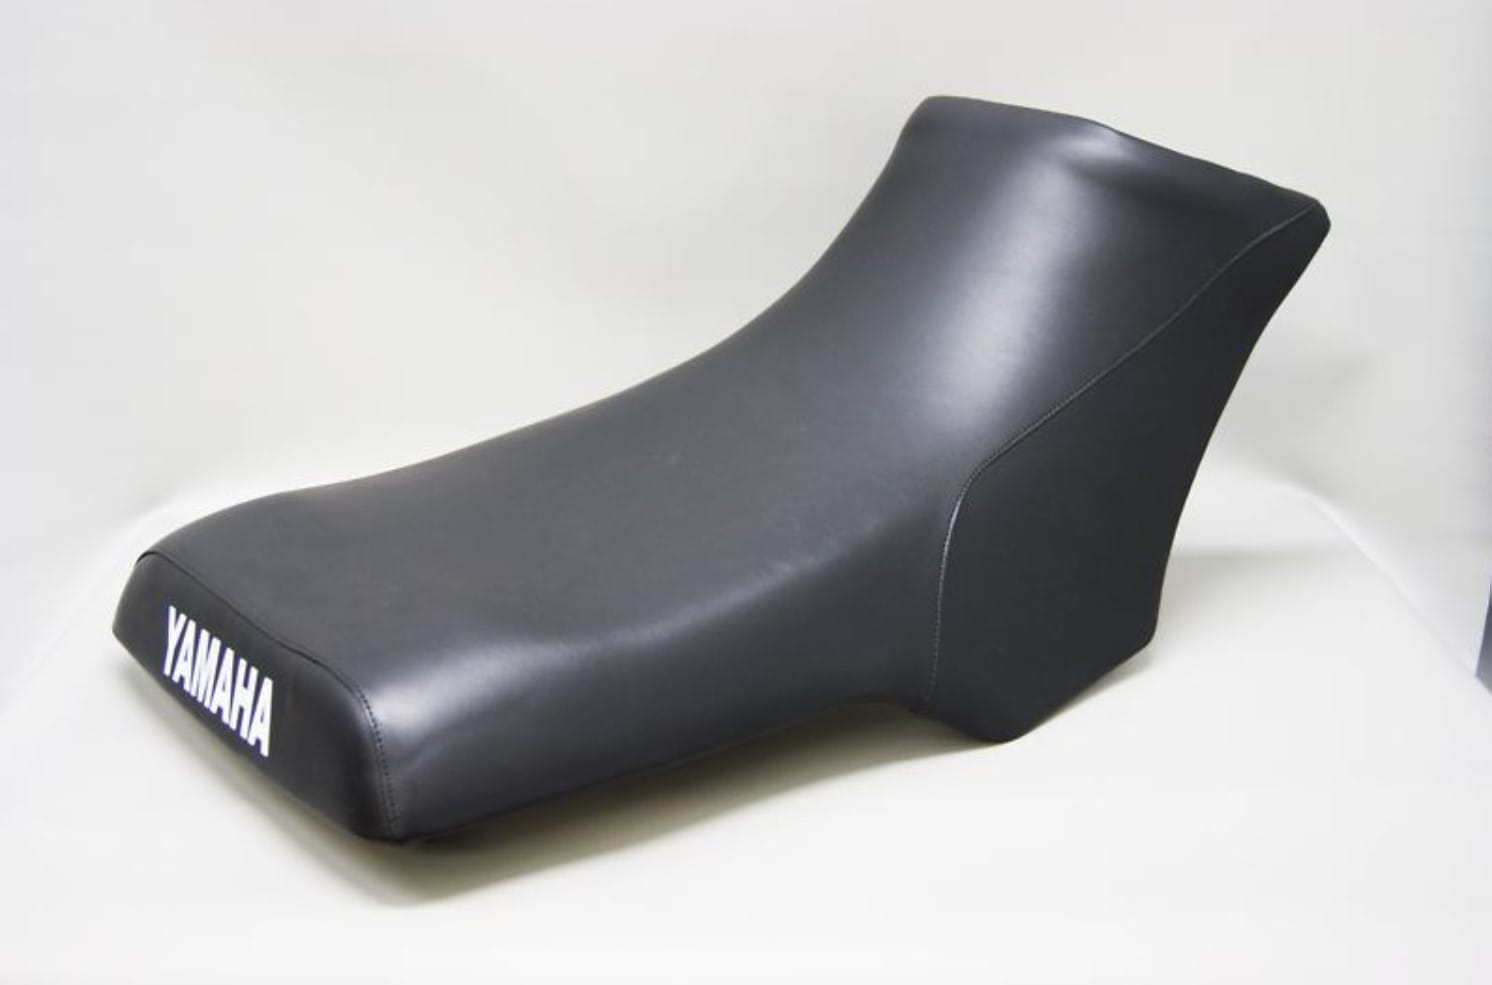
This cover ended up fitting the Moto-4 perfectly.
Tools
One of the best crimpers for heat shrink, nylon, non-insulated connectors, and ferrule terminals.
Can be difficult to use at times but makes solid crimps.
Wheels & Tires
Great budget mud tires.
Great budget mud tire.
These wheels are hard to find but, they look great on the Moto-4!
These wheels are hard to find but, they look great on the Moto-4!
